Have you ever wasted hours trying to jazz up a presentation or make it look unique? You shouldn't be spending your time on this end of content creation!

The fastest way to make any presentation look unique is to create a custom theme in PowerPoint. Sound complicated?
It's FAR easier than you might think!
In fact, it's surprisingly simple to brand your slides and make them look professional once you have a theme or design you like. Especially with PowerPoint, though I'm sure other programs are similar.
The idea is to create a branded, custom look to your slideshow, and then apply your PowerPoint theme to all your slides (past, present, and future).
Here's the quick approach:
Step 1: Create a custom theme in PowerPoint
In the Design tab, under 'Variants', you can create new theme colors, new theme fonts, and even the background and effects you want.
However, the best way to create a custom theme in PowerPoint is to work from the Master Slide layout.
- Start in the Design tab and pick a starting theme. Pick from the basic ‘Office' theme, or pick another by clicking the down arrow under 'Themes', and then look at some of the Variants on the right.
- Go into View > Slide Master to create custom colors, fonts, effects, and background style.
- Scroll to the top slide in the Slide Master to add other graphics, logos, spacing, etc. that will appear on every slide of that layout.
- Edit individual slide layouts as needed. You can also add your own custom layouts and rename any of them.
TIP: Be sure to set the size of your slides first, preferably to widescreen (16:9) for video. Otherwise, graphics will get distorted if you later try to switch sizes. You can also do that in the Design tab under 'Customize'.
Also, consider creating custom themes for worksheets and other size documents. Those dimensions can also be adjusted in Slide Size.
Step 2: Save your custom PowerPoint theme
When you're done creating the branded look for your presentation, click the down arrow for Themes in the Design tab and Save Current Theme.
That will save your new branded theme to a local folder so that it always shows up as a Custom option in Themes under Design. Usually it will be one of the first ones shown.
TIP: If you have themes in different versions, eg wide or onscreen, be sure to put that into the name so you can recognize the correct one easily.
Step 3: Open the presentation you want to customize
Now open any presentation that you want to brand, such as generic ones from ContentSparks.com.
TIP: Make sure you take note of the size of the page setup, so you can pick the right theme.
Step 4: Apply your custom theme to all slides in PowerPoint
Click on the Design tab and pick your custom PowerPoint theme to instantly apply it to all slides in your presentation.
TIP: If you just want to copy the theme from another presentation on your computer, click on ‘Browse Themes' (at the bottom of the list of themes when you click the down arrow for more)
Step 5: Adjust slide layout where needed
You'll probably have a few places in the presentation that need to be tweaked, so look through all the slides.
If there's anything that's on all slides, it's probably in the Slide Master.
For example, the ‘Your Logo' placeholder we normally put in to show you where to insert your own logo needs to be deleted (or just replaced, if you don't have it in your theme).
To get rid of it, just go back to View > Slide Master.
Then click on the top slide, click on the object, and delete it.
TIP: You can always get rid of any background graphics that are distracting from your presentation on an individual slide. Just right-click on the slide. Click ‘Format Background'. Then check off ‘Hide background graphics'. You can just close it to apply to that slide OR apply it to all slides to get rid of all background graphics.
Once you've done Steps 1 and 2 one time, you have very little to do each time you have a new presentation to create or customize.
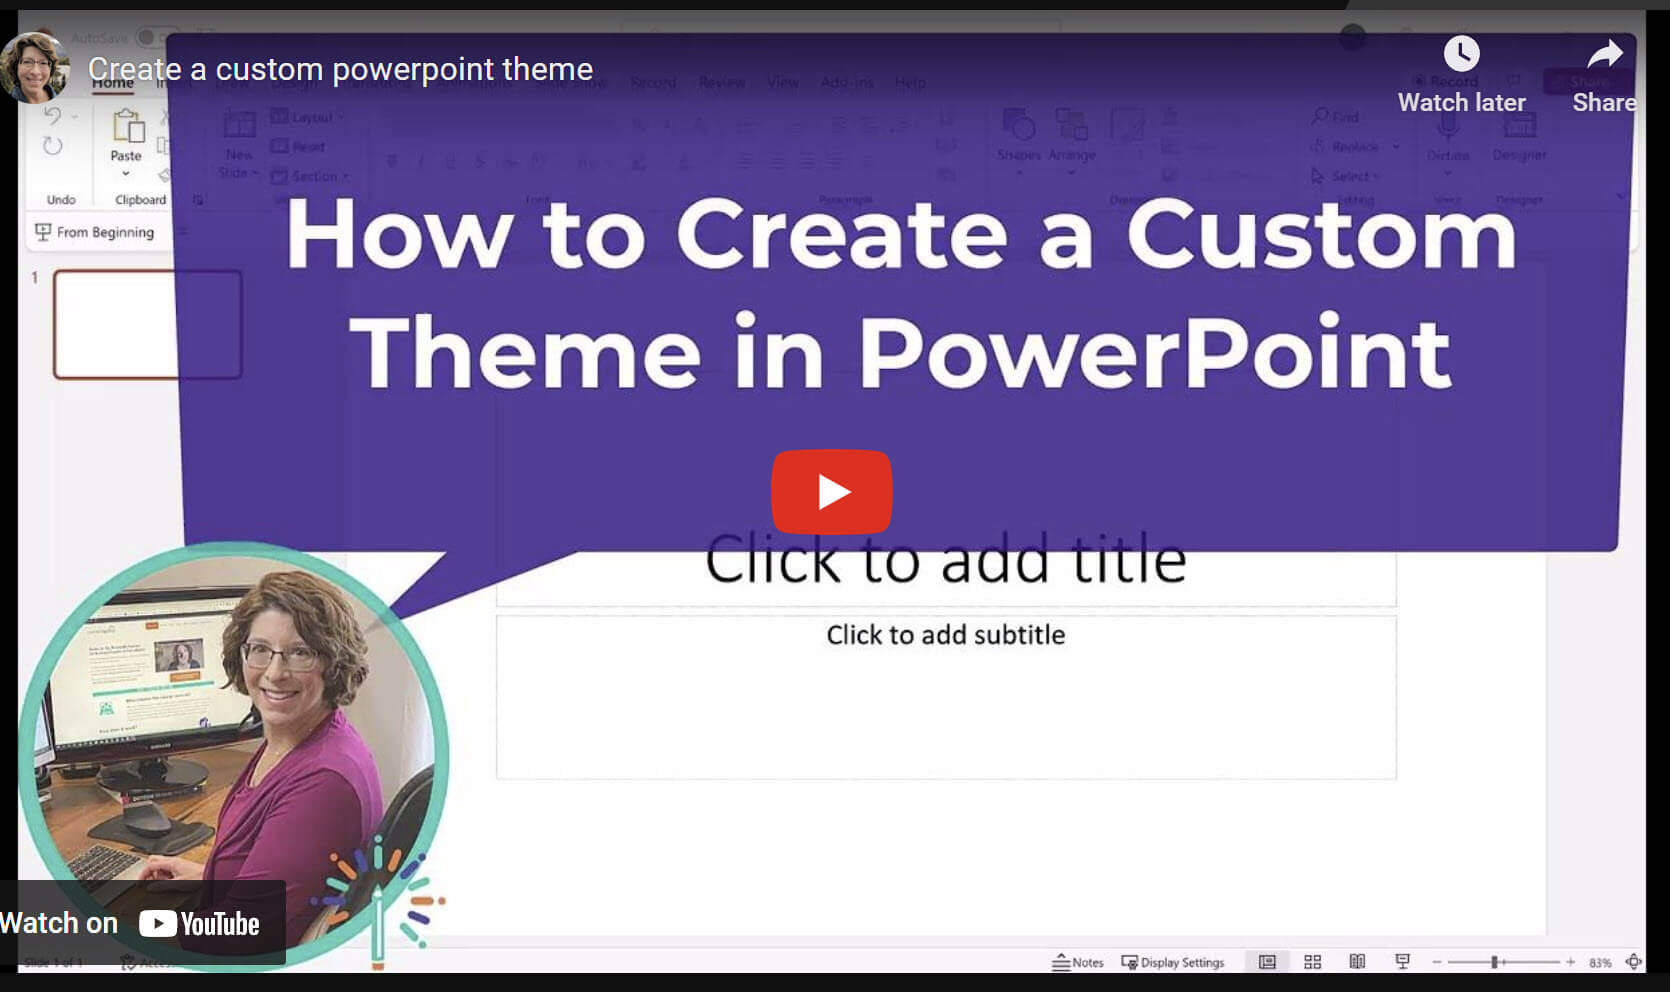
If you'd like to see these steps in action, watch the video below...
Demo Video: How to Create a Custom Theme in PowerPoint
How to Create a Theme Color in PowerPoint
If you're just looking to create a custom color theme in PowerPoint, watch the following video, which works from the main Design tab.
Please note that Office 365 is often adding new features, so sometimes the menu may look at little different!
The hardest part you might have to do is move some things around if they conflict with your new theme.
That's why we try to keep the slideshows from Content Sparks as simple and generic as possible.
If you try to apply your branded theme to a presentation that has a lot of complicated designs in it, you might have more fiddling to do.
Here's my biggest tip for speeding up your branding…
Outsource the design of your theme!
I paid a designer just one time to create a branded theme for my slides. It wasn't cheap, but it saved me a lot of hours of my precious time!
And now I just apply that theme every time I create a new presentation.
I barely have to think about design and branding AT ALL when I apply my custom themes!
Do you have a custom, branded theme for your own slides yet?
Download the Checklist
We've created an in-depth, step-by-step checklist to cover everything we've gone over in this post. Download a free PDF copy below:

Tags