Are you ‘graphically challenged' when it comes to designing images for your courses and other content?
Or maybe you're just short on time?
Well, there's one easy solution that might already be sitting on your computer – PowerPoint.
We use PowerPoint all the time to create graphics for blog posts, infographics, course illustrations, Facebook Ads, overviews of processes, etc.
There's a lot of untapped power in PowerPoint that you probably didn't realize. But for this tutorial, I'm going to focus on one feature that's in version 2010 and later.
NOTE: If you're still using a version of Office earlier than 2010, think about updating it if you use it on any type of regular basis. Otherwise, the visual concepts here still hold, but it would take you a lot longer to create the examples I'll show.
Video Tutorial: Creating Graphics in PowerPoint with Smart Art
In the following video tutorial, I walk you through the steps for taking some text from one of our course books and creating a graphic that illustrates those key points. I used Office 365, so if you have a different version the location of some menu items might be different. But it shouldn't be a drastic difference.
As for the text I picked to use in the demo graphic, you can find that in our ready-to-teach course called ‘Start Your Own Business: Step-by-Step‘.
To recap the video, the detailed steps you'll follow to create your graphics are:
Step 1 – Create a Blank Presentation
Set the Layout of your slide to ‘blank', so there's nothing to interfere with your graphic. Alternatively, you could select one that has title and content, so that you can put the title of your graphic above it.
Step 2 – Set Up Your Brand Design
Make sure you have your brand theme colors set up in the Colors section (right-hand drop-down under ‘Design' tab). That way, any graphics you create will already have your branded look.
Step 3 – Pick or Write Text for the Graphic
Decide on the text you want in the graphic. You can grab some bullet points, lists, processes, or other short content from your Course Book or Cheat Sheet in any of our programs as a great source of text.
Step 4 – Select a Smart Art Design Layout
Click on ‘Insert', then ‘Smart Art' to see all the layout options. If they aren't all showing, click on ‘More Layouts' at the bottom of the list of options.
You'll see they're categorized by type – List, Process, Cycle, Hierarchy, Relationship, Matrix, Pyramid, Picture, and more on Office.com. The ones under ‘Picture' have a place to insert images or graphics right inside your Smart Art.
Look for one that fits with your text and don't worry if you don't like it the first time around. You can easily switch to a different layout at any time.
Step 5 – Insert Your Text
You can type text directly into different parts of your graphic, or click on the little arrow on the left side to open the text box.
Use your Tab key and Backspace key to change the level of text, so that the text goes where you want in the different graphic elements.
At this point, you may decide to change the layout of your graphic to something completely different. You can do that in your design tab, being sure to click on More Layouts to see everything available.
You can also add extra text or shapes outside of the Smart Art graphic by clicking on Insert > Text Box or Insert > Shape
Step 6 – Adjust the Colors
The default Smart Art will probably use just one color, but there are other options built in. I like to have multiple colors where possible.
To do that, click on Design in the Smart Art Tools (you'll see that option when you have the graphic selected with your mouse). Then click on ‘Change Colors' to see all your options.
You can also manually change colors of different elements if you don't like the options PowerPoint gives you. Just highlight the element or text you want to change and edit it the way you would with any text or shape.
Step 7 – Save as an Image
Once you're happy with your new graphic, save it as either a .png or .jpg image. You can also save it as a pdf, which is great for printable graphics.
Go into File > Save As and find the file type you want in the drop down. If you click on ‘save just this slide', you'll save that one slide as an image. If you have multiple slides with graphics, you can save them all as separate images. They'll show up in one folder.
NOTE: You can create graphics of any size, such as an infographic, by setting your Slide Size. That's in your general Design tab over on the right hand side.
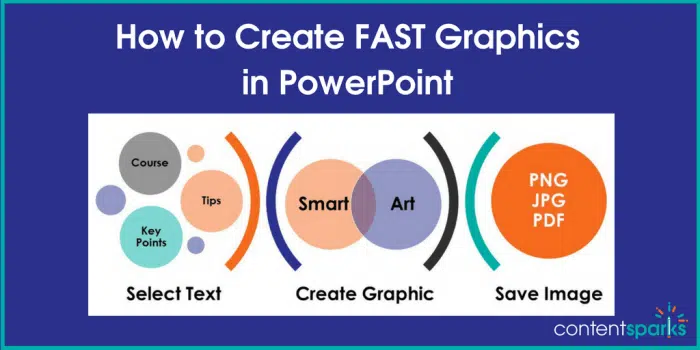
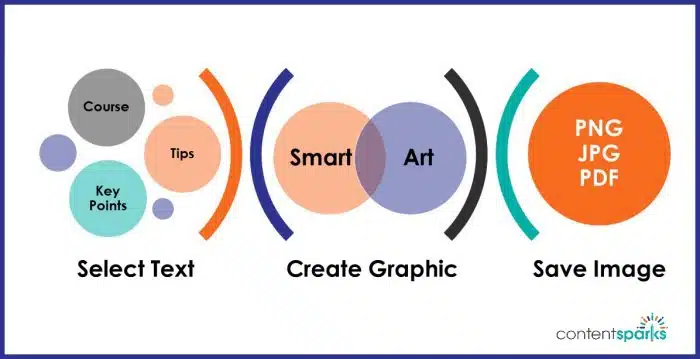
Here's the image I quickly created for the ‘featured image' at the top of this post and for the blog. This shows the summary, basic steps for creating graphics with Smart Art in PowerPoint:
And that's all there is to it! Give it a try and see what kind of fun graphics you can quickly create with Smart Art to spice up your content or other course materials.
Want to grab the course in my demo?
You can by ready to teach your own course on how to Start Your Own Business: Step-by-Step in a day, rather than spending months creating content from scratch.

CLICK HERE for Start Your Own Business: Step-by-Step >>
When you purchase a license to our brandable, done-for-you course kits, you get the ability to:
- Edit the content any way you want (including transforming it to other media or languages)
- Put your name and branding on it
- Share with prospect and clients, or sell for 100% profit
You can quickly create your own online courses, self-study ebooks, video series, live workshops, eCourses, and more. We've done the hard work for you. All you have to do is customize it to your market and add your own language and additional insights.
Let me know if you have any questions!
Tags
You may also like
Comments are closed.

Wow! Amazing! Great info, thanks so much.