Planning, preparing, and presenting an online course can be extremely profitable, but it can also take time and effort. We provide your course content, ready to customize, which saves a huge chunk of time. However, the next challenge is how to record online course videos without tearing your hair out!
Your course videos need to be professional to show your audience that you’re serious about helping them, and this can be tricky if you have to start learning a lot of technology. The good news is that there’s a tool that will help you, and which anyone can use: Zoom.
Zoom is a “Freemium” product. This means there are some aspects of Zoom you can use and not pay a cent. Other parts of the service, like webinars, are a paid feature.
Watch the video below where I walk through how to record videos using Zoom ‘meetings':
Follow the course recording steps from the demo:
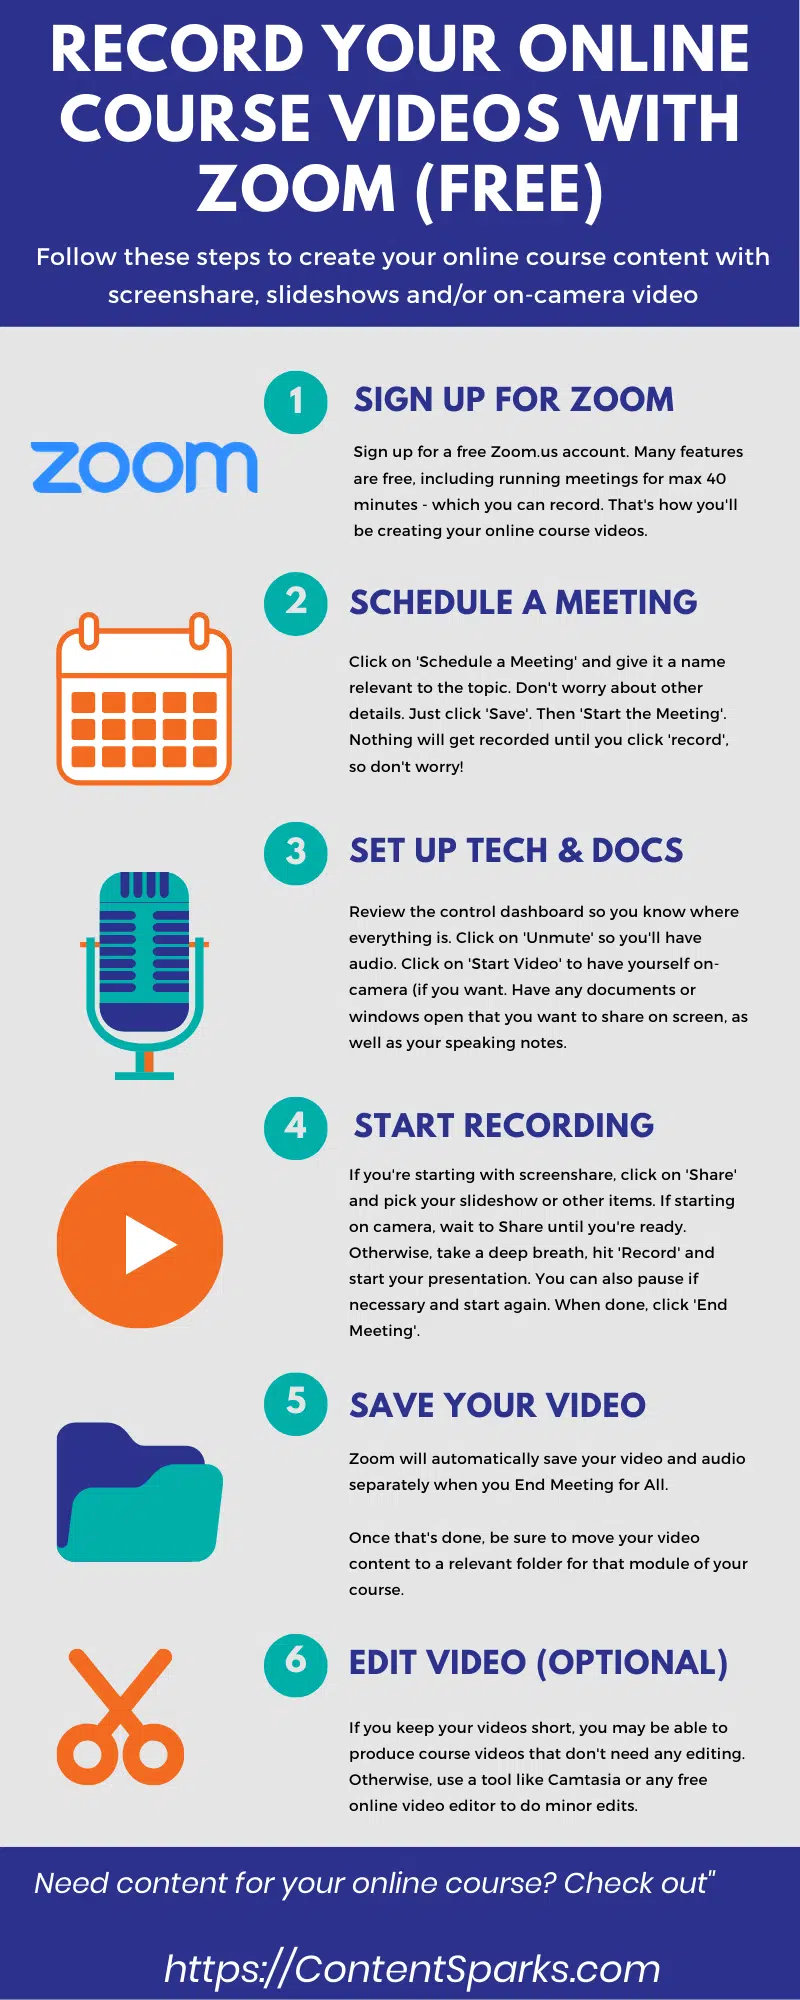
Step 1 – Join Zoom
Go to the Zoom website and on the top right, click the button that says Sign Up, It’s Free (or similar wording.) There are limitations, which change periodically as they add more features, but short meetings are usually free (just like the videos we are going to make).
Step 2 – Schedule a Meeting
> Sign in and select Schedule a Meeting from the dashboard . Alternatively, you can go to your Personal Meeting Room and just click 'Start' to immediately launch a meeting.
> If scheduling, fill in the name of your video, and at the bottom of the page, click Save.
Don't worry about the other options available because you are going to start setting up and recording the video right now.
> Click on Start the Meeting. At this point, if you don't already have Zoom on your desktop, you will be asked to download it now.
Don't worry if you're not quite ready. Nothing will get recorded until you hit ‘Record'.
Step 3 – Set Up Your Equipment and Documents
Next you will see a control panel for your meeting.
> Start the set-up by unmuting your microphone and turning on your camera by clicking ‘start video' (if you are using it).
> Before you hit record, make sure you have your notes ready and any other documents you want to share in your video.
Remember to turn off phones, notifications and anything else that might cause unwanted background noise.
Step 4 – Start Recording Your Video
Your mic and camera are already set up, and now it's time to share your screen.
> Click the Share button on the control panel and select the document you want to share on your video. Adjust your document to fit inside the green outline. Note that the control panel is minimized at the bottom of the screen for easy access when needed.
> When you are ready, take a deep breath and hit the Record button.
Take your time and don't rush through it. Pause if needed and use your notes for guidance.
> When you're done recording your document, go to the control panel at the bottom of the screen and click the square 'stop' button to end the recording. (You can also use the Pause button at any point to pause recording and re-center yourself or find documents to screenshare.)
> When you are finished completely, go to the control panel menu, select More… , End Meeting, and End Meeting For All.
Step 5 – Save Your Video
Zoom will now convert the meeting to a recording, and you will be taken to your Zoom desktop folder, where you will see your recording has been saved for you, both in MP4 and Audio-only files.
You can use the audio-only files for your course as well. Some people like to learn on the go, and having the audio makes their life easier! You'll also find that the Zoom audios increase the value of your online course when you include them.
Step 6 – Edit Your Video (if you need to)
It is not necessary to edit your videos if you keep them short and get a clean recording. Lots of people go all the way through without any problems.
However, if you do need to edit or cut out parts of your videos, you will need to use a tool outside of Zoom.
There are many free video software programs available such as HitFilm Express, VideoPad or iMovie which will get the job done.
My go-to tool for editing (and even for recording) is Descript.
It's an all-in-one recording and editing app that has some terrific AI features built-in.

Alternatives to Recording Course Videos with Zoom
Zoom is certainly not the only option to record your course videos. It just happens to be easily accessible and simple to use. If Zoom doesn't work for you, try one of our other favorite free tools for recording:
- PowerPoint – You can record your slideshows with audio in Powerpoint itself and export it as a video. My favorite method is to record my audio first and then import it into the slideshow. You can learn how to Record Slides as Video here.
- Other free tools include Facebook Live or Youtube Live – where you can use your slides to run a live video and then download the recording afterwards.
We also really like the following tools as well, and even though you have to pay for them, many include a free trial so you can download it and make sure it's right for you before you commit.
- Snagit – Quick screen and video capture tool with free trial available
- Descript - My favorite now! I'm using this for recording and editing, which saves using an extra tool.
- Screenflow – Screen recorder and video editor specifically for Mac users
Want a quick, step-by-step guide to using Zoom for recording your course videos?
Need online course content and don't have time to create it all?
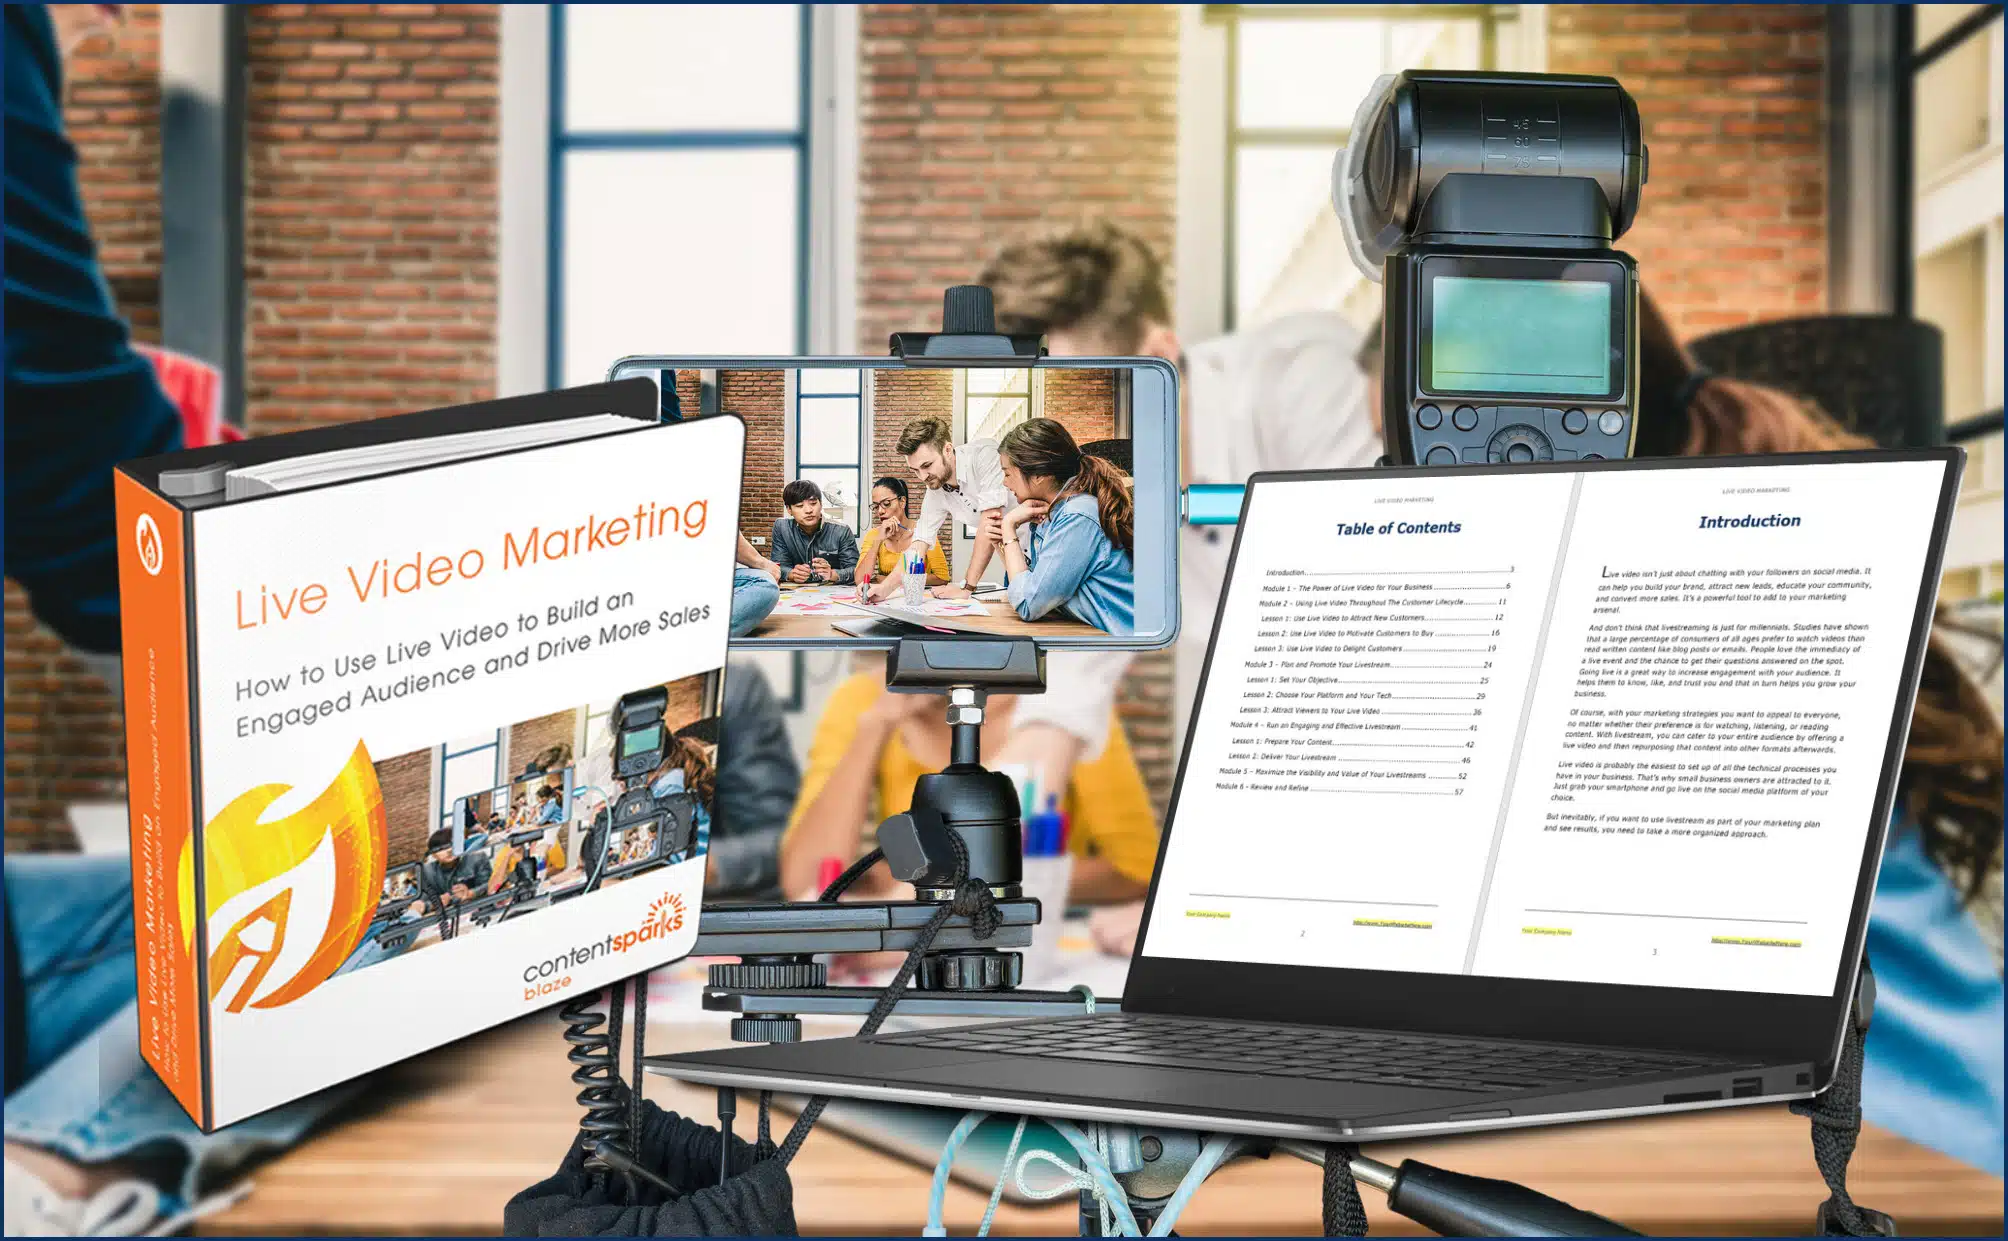
Live Video Marketing
Teach Yourself. Then teach your audience.

You'll get all the material you need to teach your audience how to use live video to build an engaged audience and drive more sales.
That includes a slideshow that's easy to edit and brand, and then use to record your course videos!
Not interested in teach about Live Video Marketing?
Check out topics available in our selection of premium, brandable course kits:
Our team of instructional designers and content creators have done the bulk of the work for you. All you have to do is:
- Download the materials
- Add your branding and personal insights
- Publish as your own online course or live workshop
Let me know if you have any questions!

Tags