How To Record Videos For Your Online Course
0 comments
0 comments
Planning, preparing, and presenting an online course can be extremely profitable, but it can also take time and effort. We provide your course content, ready to customize, which saves a huge chunk of time. However, the next challenge is how to record online course videos without tearing your hair out or spending all day doing ‘cuts’ and retakes!
Naturally, you want your course videos to be professional to show your audience that you’re serious about helping them, and this can be tricky if you have to start learning a lot of technology. That’s especially true if you’re a bit of a technophobe to start with.
You’re in luck though: recording a show-stopping course does not always require a professional film studio. Software as simple as Zoom or a camera in your smartphone can result in a video course that is just as good as anything out there, and it’s totally doable no matter your budget.
Get ready to dive in for my comprehensive guide to shooting, trimming, and rocket-launching a video course that doesn't just educate, but captivates and connects!
I get it, recording videos for your next course can be an intimidating task. So let’s break it down into 5 critical steps.
If you’re going to record a video then you’re going to need some gear.
Worried it will cost an arm and a leg? Don't run for the hills or mortgage your house just yet. I'll be sharing my top picks for filming equipment further down the post. But here's a little sneak peek. For a basic filming setup, you'll need:
You'd be stunned at how little you actually need to pull off a slick, professional video. So, if this list has got you all jittery, stick around to get my tried-and-true gear recommendations.
If getting on camera is making you nervous, then fear not! There are plenty of ways to create amazing course videos without ever needing to hop in front of a camera and press “record”. Check out the section below on how to film course videos without being on camera.
With the gear locked down, let's turn to crafting the perfect video backdrop.
I know, styling a video backdrop seems intimidating - especially if you’re not a creative visual person like me. But fear not, you’d be surprised how easy it is to create a stunning backdrop for your course videos by following a few simple principles (and with good lighting).
Kevin Shen over on Twitter is a goldmine for first-time video creators looking to spruce up their home studios (even if it’s the spare room next to the water heater). Here are some of his pearls of wisdom.
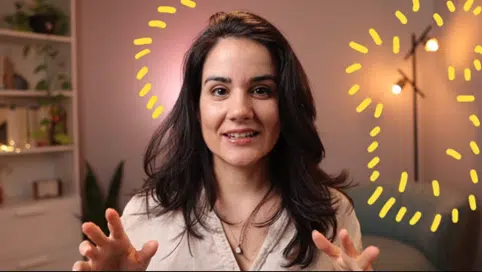
Colorful backdrops are a sure-fire way to make your video sizzle. Just a heads-up, aim for a hue that lets you be the shining star, not your back wall. After all, it's your show, not the wall's!
Check out another example from Kevin below to see how it’s done.
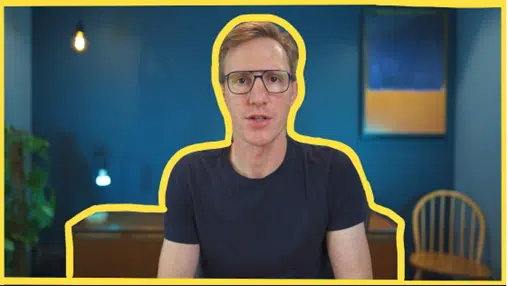
A plain-Jane flat wall can leave your video feeling a tad ho-hum. But sprinkle in some interesting tidbits, create a bit of depth, and voila! Your video steps up its game and exudes a whole new level of professionalism.
See the example below that Kevin highlights where we have a series of lights and objects in the background as well as objects in the foreground to create visual interest:
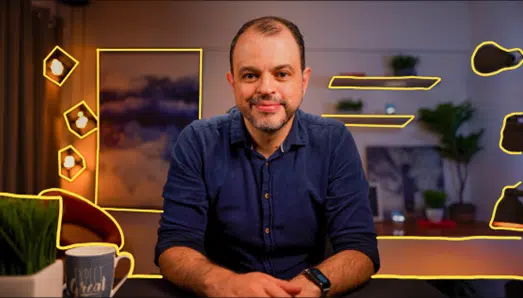
If you want to get fancy or you don’t like the background you set up, you can always use a tool like Descript to remove your background with AI and insert something else!
Read on below to see how powerful some of these AI video tools can be - especially for allowing you to create videos without having to hop in front of a camera!
You’re nearly there, now it’s time to record your course video!
First-timer at recording course videos? No sweat, here are some golden nuggets to ace it:
Stick to these tips and you'll come across as sleek as a seasoned pro. Once your video is in the bag, it's time to roll up your sleeves for some editing.
Whew! Your video is recorded, now comes the technical part: editing. For those of us who aren't tech wizards, here are my ace tips to make your videos sparkle while keeping your stress at a low ebb.
Move over Spielberg! Editing a video isn’t so bad. By following these tips your videos will be engaging, flow smoothly, and come off as polished as the pros.
Your video is nearly complete, now it’s time to publish it to your course! This is the last step to publishing your video and sharing it with your students - but make sure to choose the right platform to launch your next course. If you haven’t picked a platform yet, check out my guide to choosing the right online course platform.
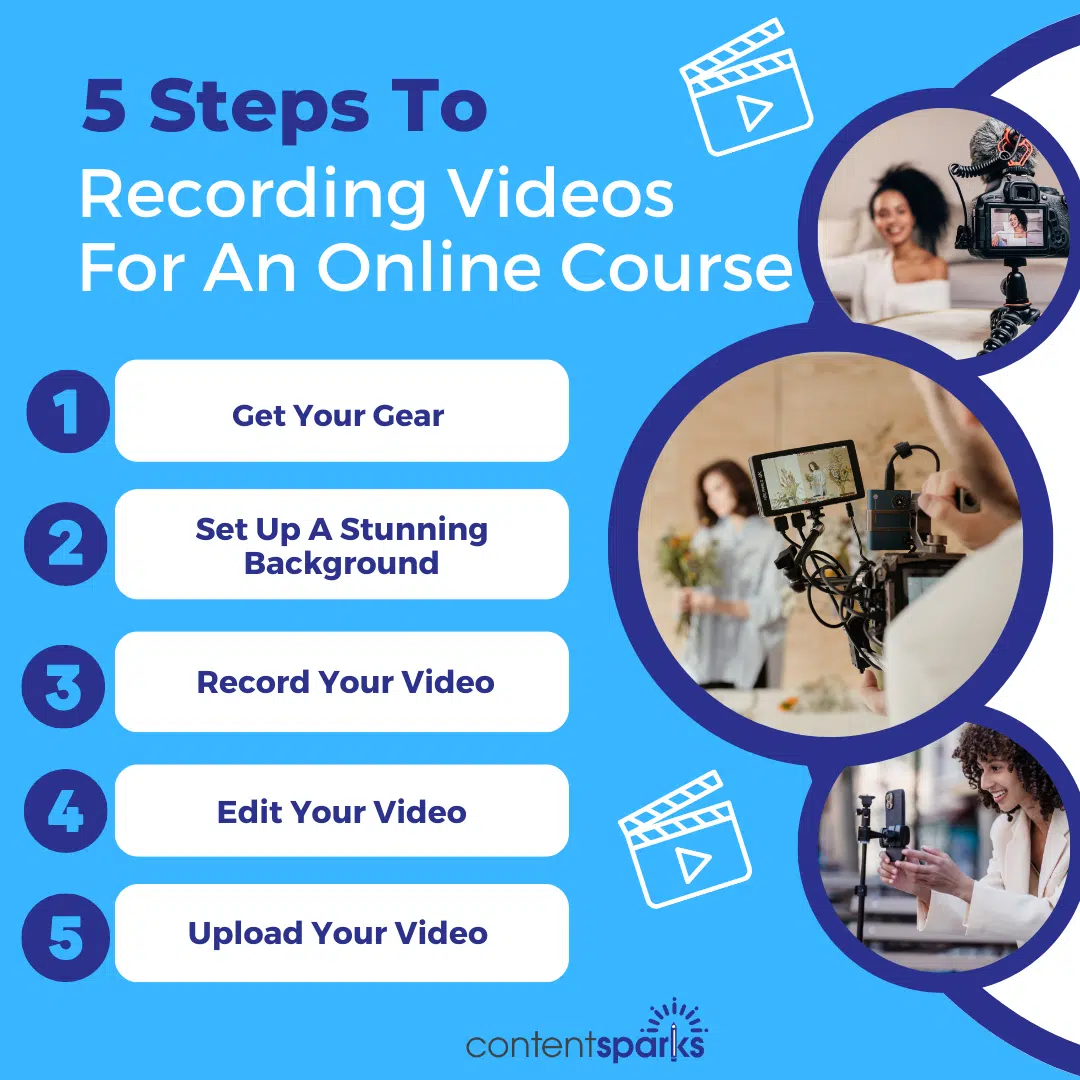
You have the steps to create, edit, and publish a video for your online course, so next I’ll walk you through my favorite tools and equipment.
But wait just a minute! Do you really have to be on camera? If the idea of backdrops and cameras has you questioning whether course videos are the right fit for you, let me stop you right there.
Please don't confine your online course videos to the traditional format of addressing a camera directly.
There is a multitude of ways for you to create compelling and memorable course videos without having to worry about being filmed - in fact, these could be the simplest course videos you ever make. And people don’t want to just look at you speaking all the time.
The combination of a visual with your verbal explanation will make it easier for people to take in what you’re saying.
With a straightforward setup like a PowerPoint or Canva deck, paired with software such as Zoom or Loom (we'll delve into these in more detail later), you can share your screen and guide your viewers through a deck without appearing on camera. You can even record these videos right inside those platforms, which makes them even easier.
Screenshare and slide videos are equally engaging as their more conventional on-camera counterparts and serve as an excellent introduction to video creation for your online course.
Plus, they’re easy to combine with short on-camera sections, like a welcome at the beginning and a ‘next steps’ section at the end.
Thanks to the advancements in AI-powered video editing tools like Descript and Pictory, you can now use text-to-speech software to generate audio from a written script.
This means you don't even need to record audio for your online video if you’re overly uncomfortable with the sound of your voice or your accent. It's one of many steps toward simplifying the process of creating videos for your online course.
The digital world is brimming with video software platforms - dozens? hundreds, maybe? It's enough to send your head spinning! Here, though, are my top three darlings.
Camtasia, from Techsmith, sits high on my favorites list when it comes to recording and editing videos. It's a potent, yet user-friendly, screen recorder software that packs a punch in editing too, making the whole film-and-edit routine for online course videos a cakewalk. I tend to use Techsmith’s companion, Snagit, to record both webcam and screen. You can even move your little image inset to different parts of the screen before you record. Then I send that to my Camtasia software for editing.
Zoom isn't just a superstar for video meetings, it doubles up as a handy tool for recording your course videos. Set up a meeting, hop in, hit record, and off you go - talking to the camera or sharing your screen, or both.
For those just dipping their toes into the video recording and editing pool, Zoom is one of the more gentle slopes to tackle.
Much like Zoom, Loom is a dynamite screen recording tool. It lets you record your whole screen or just a window, with a cute little video inset of yourself in the corner. Loom also flexes its muscles in light video editing and auto-removing filler words (a godsend for those of us who lean on "like" or "um" in our banter!).
Before your heart starts racing at the thought of shelling out for expensive gear, take a breath. You'll be astonished at how far you can go with just the bare essentials.
With just the right tools at your disposal, you'll be crafting first-rate videos in no time. The main categories for video recording equipment are:
I’ll walk you through recommendations across skill levels and price points.
Lighting is one of the biggest difference-makers in how professional your course looks. A light can be night and day (no pun intended) in making your course video jump off the screen and impress your audience.
There are three types of lighting that go into film production:
When it comes to incorporating these kinds of light into your course videos, here are your options:
If you are just starting, try natural light with a good desk lamp and a floor lamp in the background. If you want to get fancy, a ring light is a great intro-light too and it can be budget-friendly!
Now on to the cameras! Cameras can easily be pricey, but I’ve got a variety of options at different price points to meet your needs and budget.
A setup as simple as a webcam or iPhone in a mini-tripod can work wonders, so if you are new to recording videos I’d recommend starting there before investing in a professional camera.
There is nothing worse than turning on a video and having trouble hearing the speaker or hearing all sorts of background noises. A good microphone eliminates those concerns and makes your audio sound professional.
I’d start with the USB microphone or a Lavalier microphone before considering anything else. They’ll get the job done and make sure your audio is crystal-clear!
You've created an eye-catching background, shot a high-quality video, and recorded crystal-clear audio. However, even with these fantastic elements in place, you may still need to do some editing.
I know what you're thinking - editing sounds technical and daunting. However, I assure you that anyone can do it using the tools mentioned below. While these are robust editing tools, they're designed to let you easily get to grips with the basics.
Camtasia is not just fantastic for video and screen recording; it also offers a comprehensive suite of video editing tools. These tools make the process of tweaking and perfecting your videos a cinch. Camtasia is my top recommendation and the tool I most enjoy using for this purpose.
Screenflow is another favorite tool of mine for video editing. It provides a powerful suite of tools that allow you to cut video, layer in audio, and more. However, Screenflow is exclusively for Mac users. If you're a Windows user, I would recommend opting for Camtasia.
I’ve mentioned Descript in a couple of places earlier, and it’s moving up and up the ranks of my video editing recommendations. Why? Because it uses AI to perform a lot of video (and podcast) recording and editing functions superbly that other tools only do a so-so job on. It will even create high-quality transcripts that you can then include as a pdf download with your course videos. Not everyone wants to watch a video, or they may want to search back for a point you made.
Lights, camera, action!
You have everything you need in this comprehensive guide to create amazingly eye-catching course videos that will launch your courses to the next level without breaking a sweat (or the bank). Don’t overcomplicate it. Just go with what’s easiest for you to start with, and then you can add to your skillset later.
There is a lot to this guide (and video editing in general), so I prepared a video recording checklist to give you a handy reference the next time you hop behind the camera.
Request your copy of the Online Course Video Recording Checklist by clicking on the image below:
If you want to save even more time creating your next course, why not purchase a ready-to-sell one?
I have curated hundreds of brandable white-label courses in my shop, so check them out to see if there is a course that fits your audience and save hours of prep work for your next launch!
Check Out Our Full Range of Courses in the Shop
Teach Yourself. Then teach your audience.
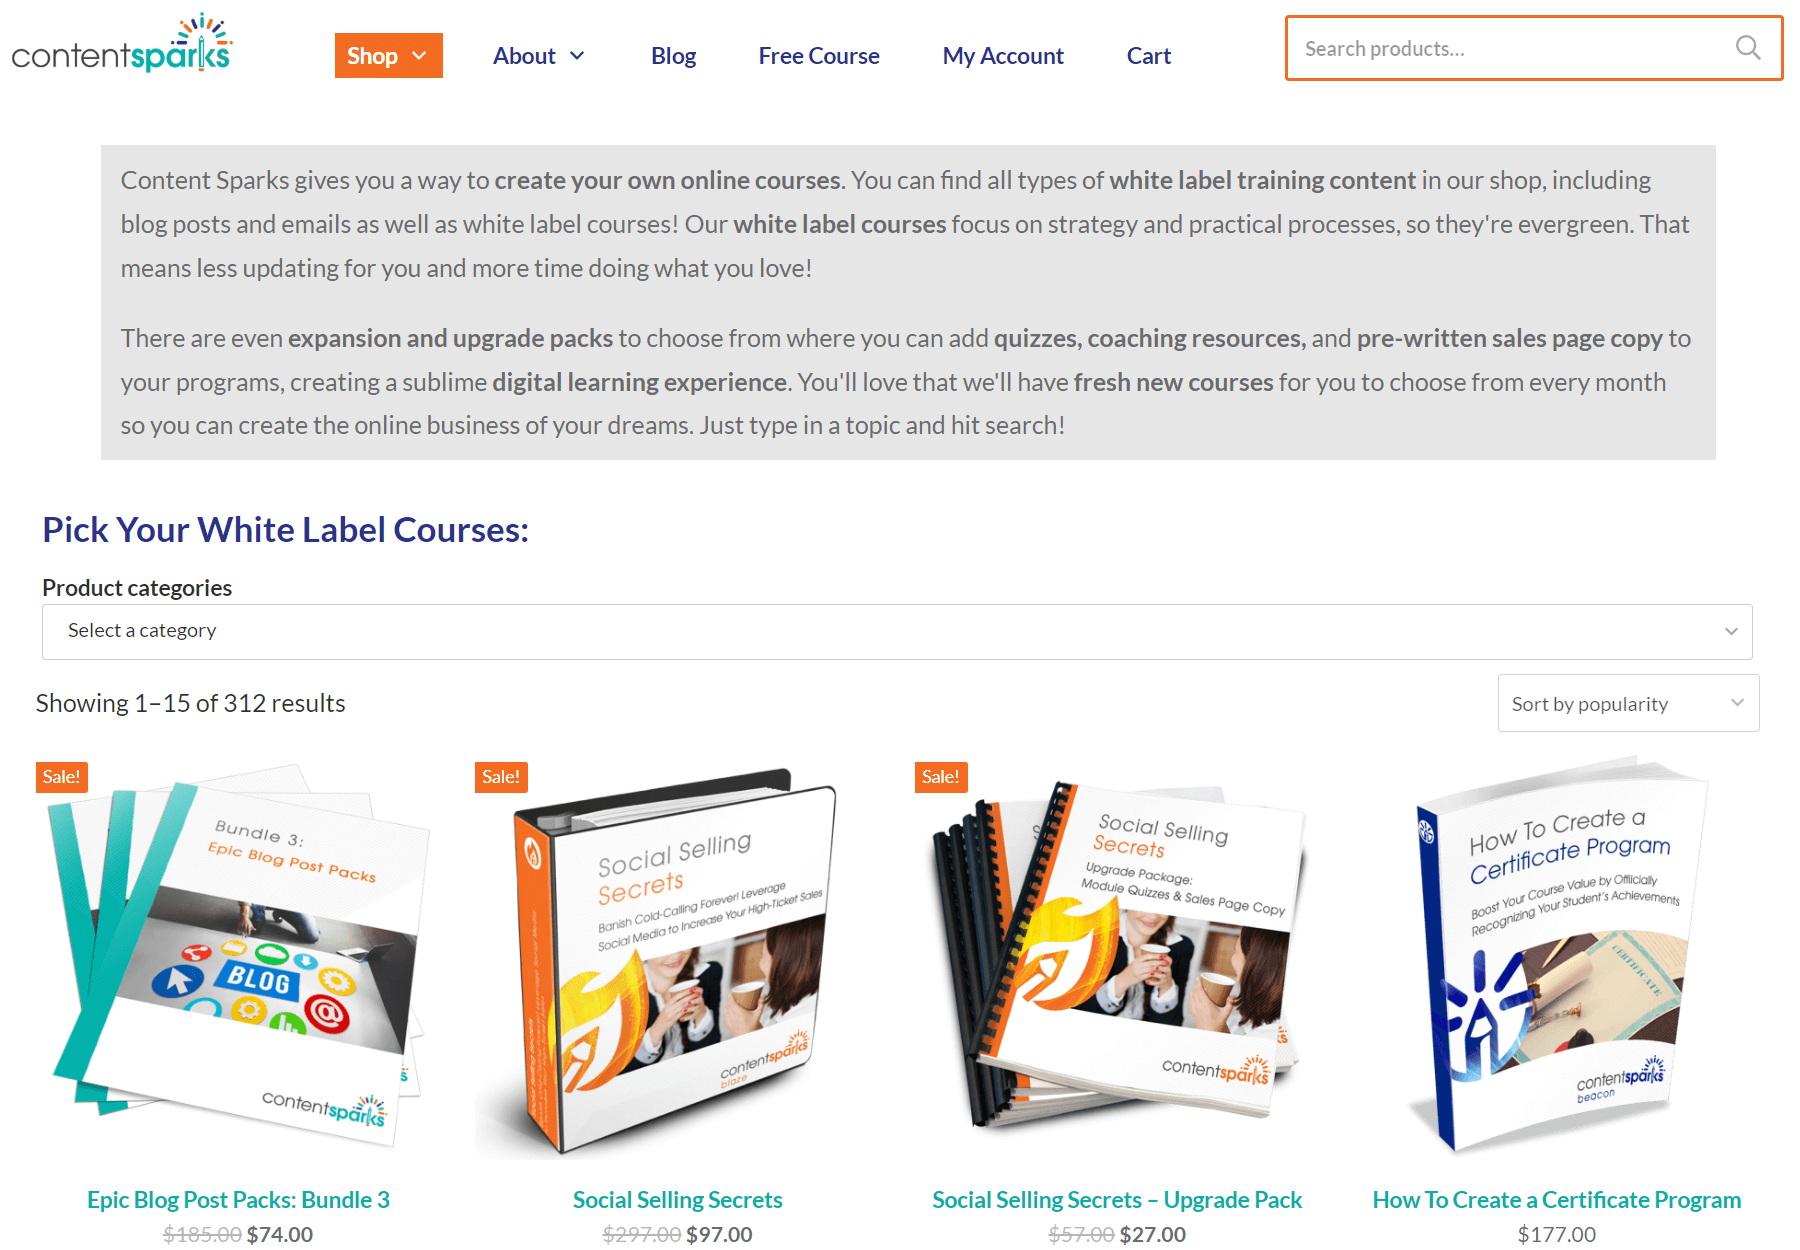
When you purchase a license to any of our ready-to-go course kits, you get the rights to edit it any way you want (or leave as-is) and add your own name and branding.
Then use your new course to:
Enjoy!

Tags