How to Create a Course Outline (Template Included)
0 comments
0 comments
Ready to whip up a winning course, but… you have a case of blank-screen syndrome?
We've all been there: a pot of ideas bubbling within, yet utterly overwhelmed about where to kick things off. Getting stuck on a simple blog post can mess up your entire afternoon. So now picture what it does when you're crafting an online course.
If you’re having trouble getting your course ideas organized effectively, then I have a system that you can use to outline an online course that will snap up sales and be adored by your students. Remember to check out my best hack to speed up your process for creating a course at the end of this article too!
Remember the good old days back in school when you had to sit down and crank out essays?
If you wanted an “A”, then you had to put a bit more effort in than hastily typing your paper the night before it was due. You probably started off with a thorough outline to organize your ideas and research.
Like an essay, a good course starts with an outline. It provides focus and direction for you as you create your course content. Your course outline can take many different forms, but usually includes a clear outcome for your students, a logical module/lesson flow, learning objectives, the activities you’ll have your students complete, and the key points you need to cover when you create your content.
Your course outline should act like both your map and a north star. It should remind you of who you are creating the course for and what outcome you’re promising them while also keeping you on track as you create content that delivers an exceptional learning experience.
A high-level course outline can be as basic as a course outcome with a list of modules divided into lessons. However, while that might work for a simple or short course, a more robust course will need an outline that is more detailed.
At a minimum, your course outline needs a clear outcome and set of learning objectives. It should be broken down into a series of modules which are the distinct chunks that divide up your course (like chapters of a book, I’ll walk you through it a bit later in this post). Each module is then broken down into a series of lessons that address your learning objectives - especially for larger modules. Think of these as the sub-sections that cover individual steps or concepts.
Here’s what I like to include in a course outline:
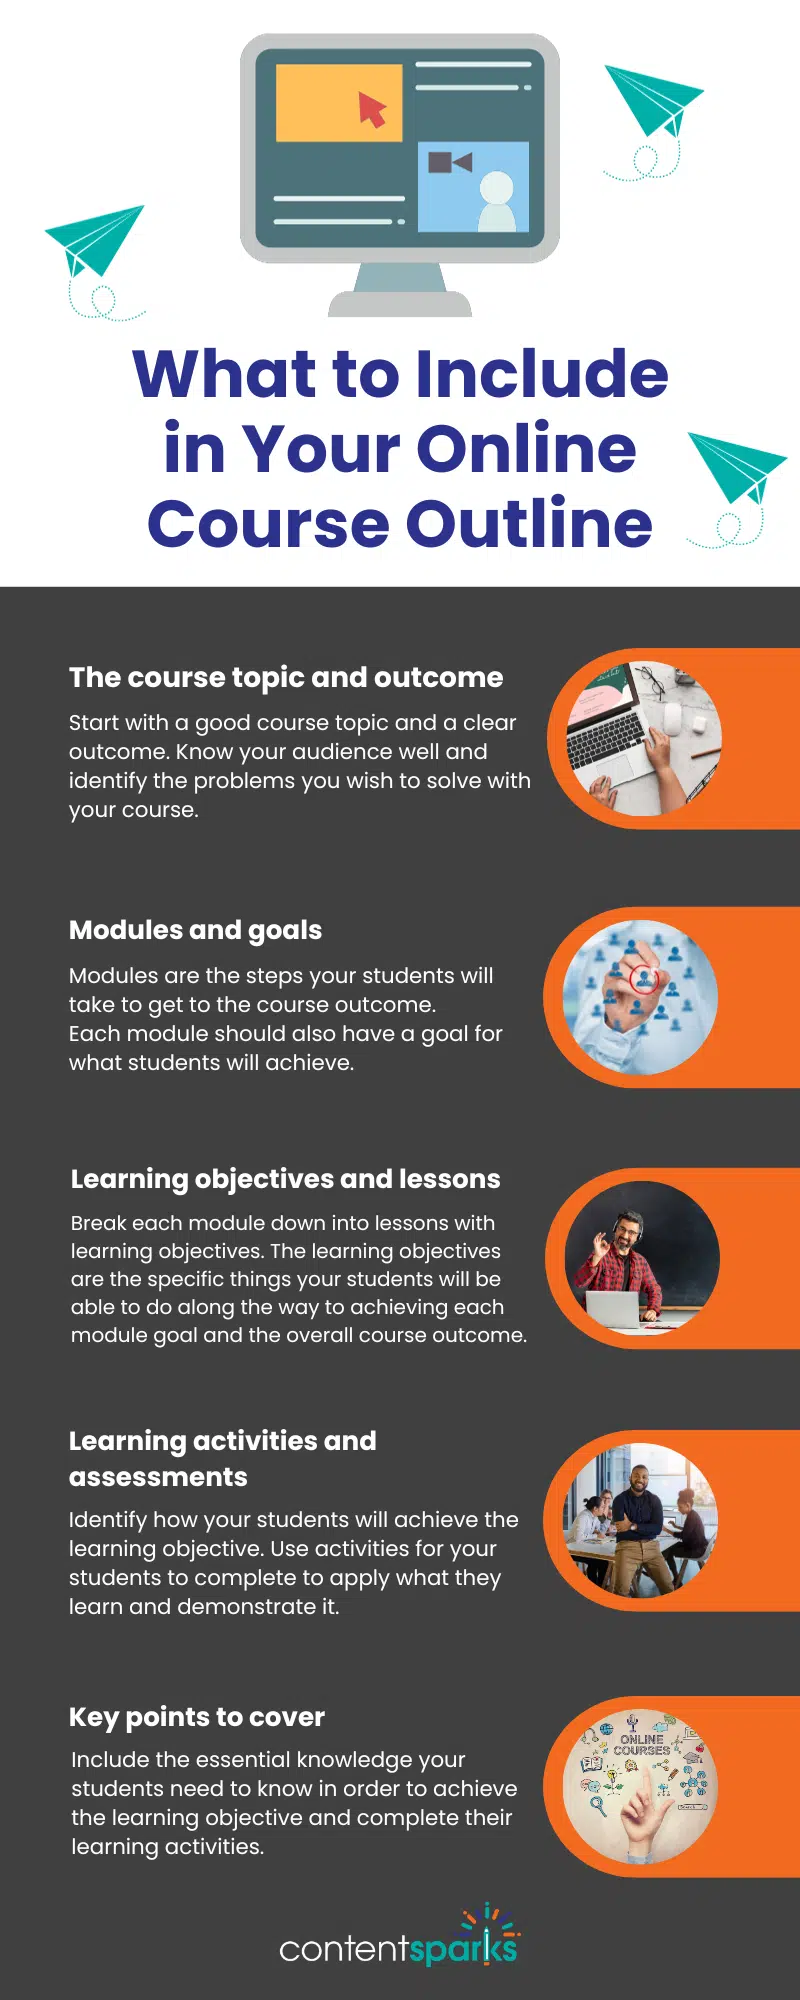
If you get that outline nailed, you can dive right into creating all the course content without worrying about whether you can deliver on your promised outcome. It’s all laid out in black and white.
Ready to put this to practice? Read on as I break each of these down in my five-step process to create a course outline.
Creating a course outline doesn’t have to feel like schoolwork. With this five-step process, you will be able to outline your next course in no time.
The steps are:
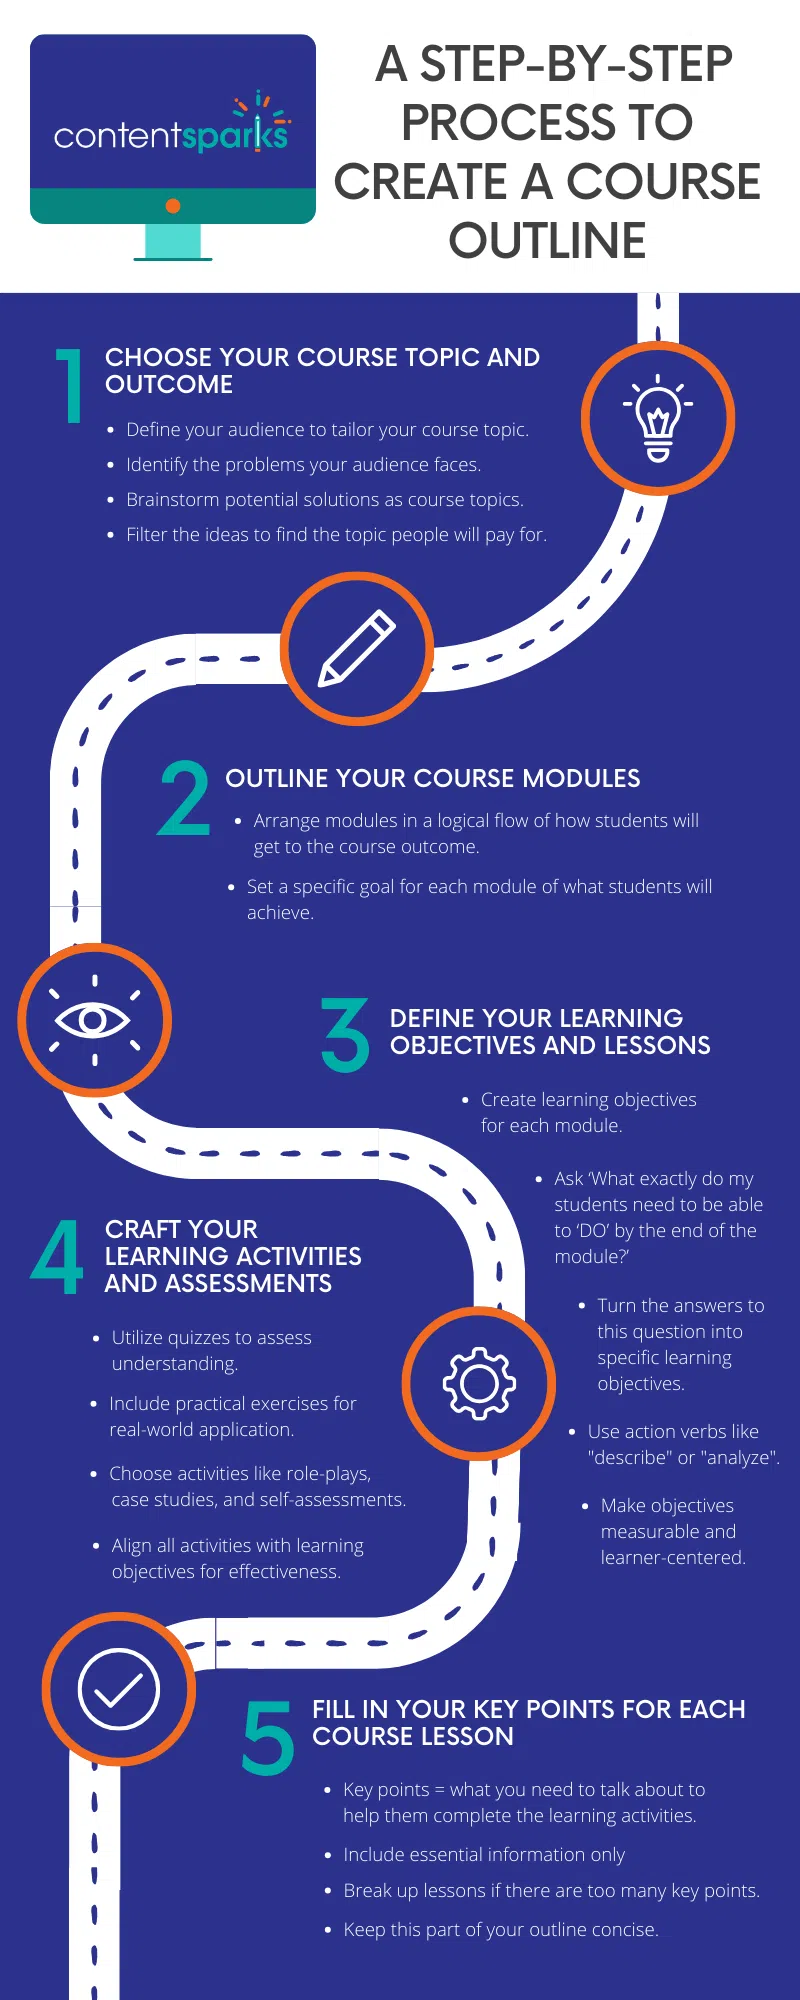
Let’s outline a course together!
Outlining a course that flies off the virtual shelves begins with nailing the perfect topic and a compelling result.
Choose the wrong topic and your course is facing an uphill battle from the start. Choose the right topic though and outlining (and selling) your course is a breeze,
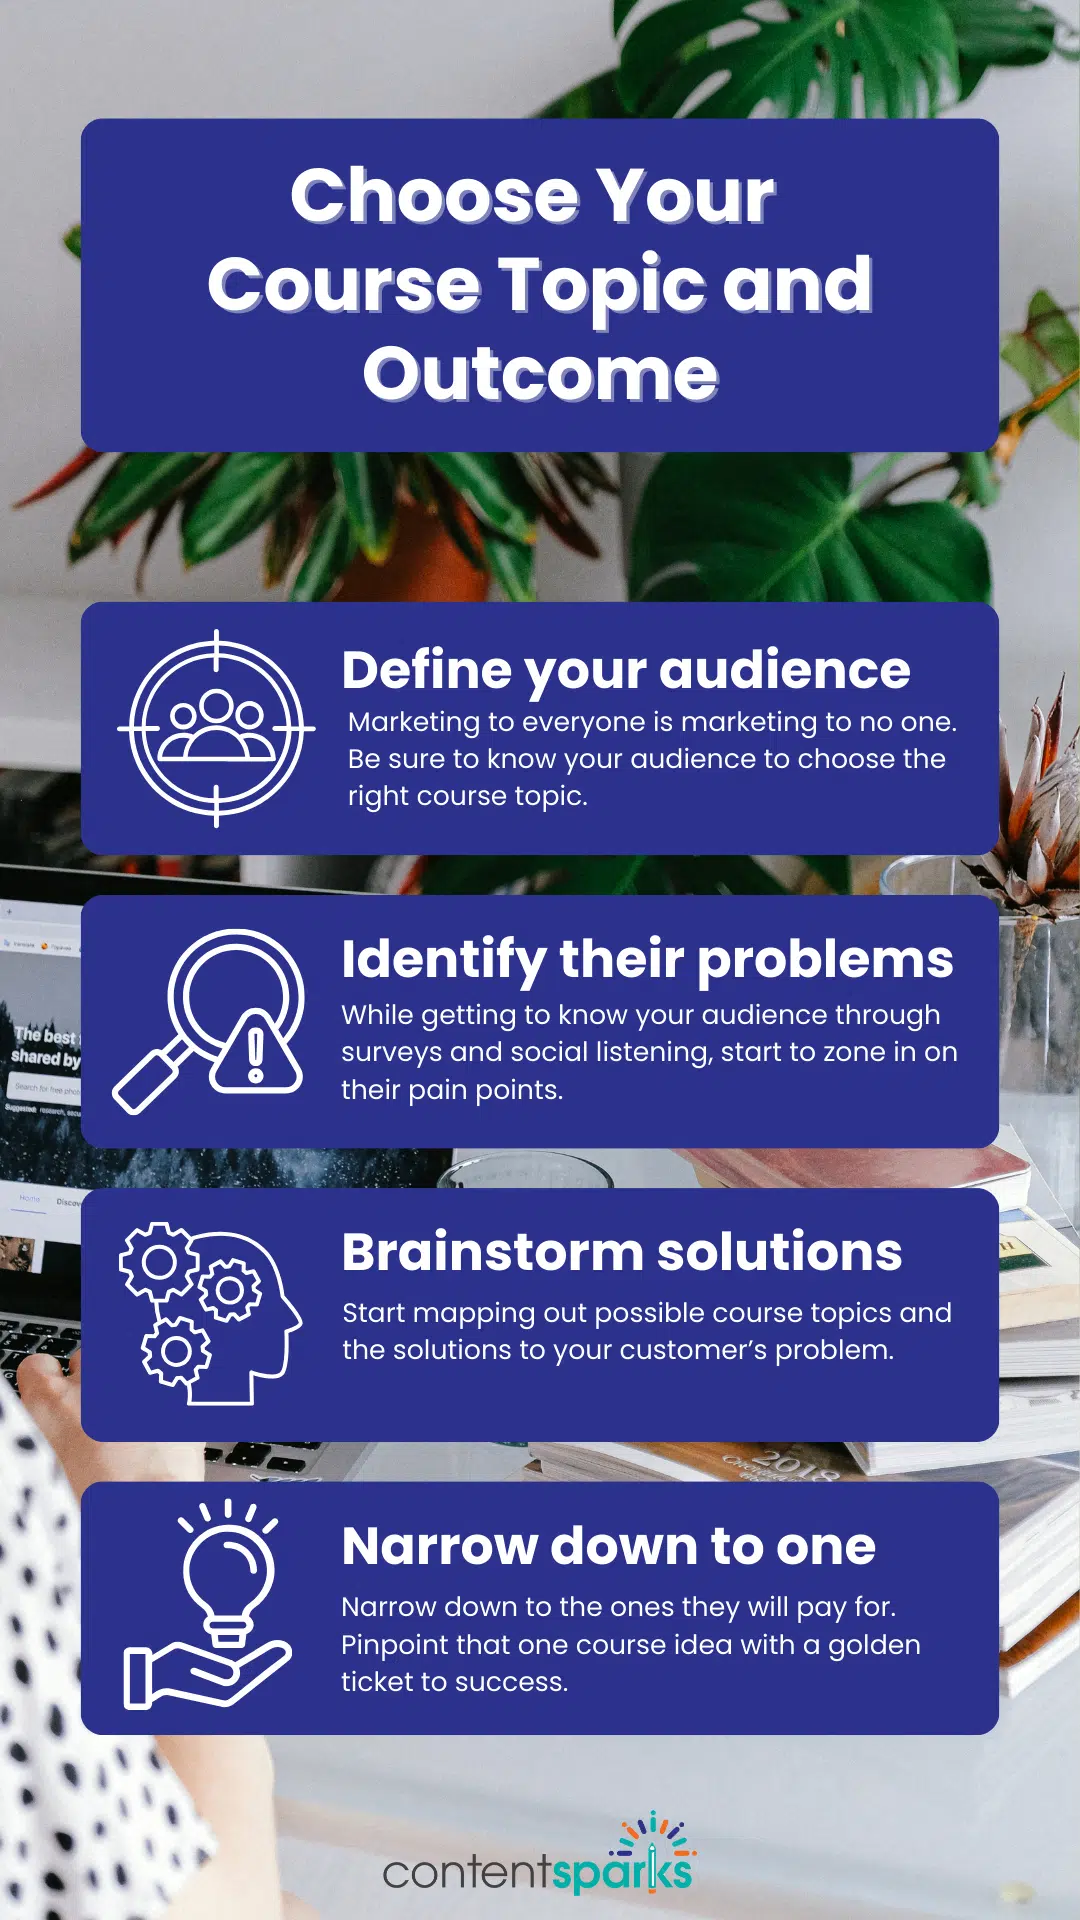
Here's how I break down the process of picking an online course topic into four steps:
Example
For example, suppose I have an audience of business service providers and my expertise is helping them develop their personal brand, build visibility, and convert more clients. My audience often struggles to connect to potential clients and convert them to paying customers. Building their credibility and forming trust-based relationships is a major obstacle, so my course topic will be “Getting Your Audience to Know, Like, and Trust You.” (By the way, we actually have a course ready-to-teach on this topic!)
Choosing the topic can be a hefty task on its own, so check out my guide to picking your next course topic for more information.
Now before moving on to the flow of the course, you need to have a specific outcome your students will achieve by the end. And that outcome needs to be something that will motivate them to complete the course!
To decide on the main course outcome, I like to continue with the following questions:
The outcome should be very specific, concrete, and compelling.
For example, for my course topic on Know, Like, Trust, I can have this outcome:
“By the end of the course, students will develop a targeted Know, Like, Trust action plan that’s ready to implement to enhance customer relationships and grow their business.”
Now that you have a clear outcome and topic, it’s time to put your knowledge and expertise to work by deciding exactly how you can guide students to that outcome. These will be your main course modules.
Think of a course module as chapters in a book. Just as a book is divided into chapters to organize its content, an online course is broken down into modules to make it easier for your students to navigate your course and put everything they learn into action.
And just like those chapters, modules need to follow a logical process. They are your students’ stepping stones, ensuring they follow a clear path to their destination and achieve the course outcome with confidence.
It might take you a few rounds to get this flow right, but it will also help if you set a specific goal for each module as well. That way, you’ll know what your students need to achieve as they progress through your course. Those goals will also make it easier for you to create your learning objectives in the next step.
Example
To help my business service providers build Know, Like, and Trust, I need to break things down for them. I did it this way:
Discover the Power of Know, Like, and Trust
Get to Know Your Audience First
Amplify Your Brand to Get Known
Cultivate Likeability and Engagement
Build Unshakeable Trust
Build Your Know, Like, Trust Action Plan
Having your high-level module outline is all very well and good. But what do you need to teach in each of those modules? That’s where your learning objectives come into play, which will also help you break down your modules into bite-size, manageable learning chunks (aka lessons).
Your learning objectives set the focus for the content of each module. They define exactly what your students will do, so it’s important to set these before creating your course content. Without them, you run the risk of veering off track, confusing students, and not making the impact you had hoped to.
To determine your learning objectives, answer this question for each module you listed:
What exactly do my students need to be able to ‘DO’ by the end of the module?
Then, take the answers to this question and turn them into specific learning objectives. If you’re newer to setting learning objectives, don’t sweat it – just follow these tips:
Example
Remember that one of my modules on building Know, Like, Trust is on amplifying your brand to get ‘known’ (the Know factor). Given that, here are a couple of sample learning objectives that achieve the goal of that module:
A good learning objective will also give you the direction you need for breaking your modules down into lessons.
Rather than having your students complete multiple objectives in one module, you’ll get better results by dividing up your modules into those easy-to-digest pieces that give a win each time.
So take a look at your list of learning objectives and go back to your high-level module outline to map them to individual lessons.
Example
For my module on amplifying your brand, the outline now looks like this;
Module 3: Amplify Your Brand to Get Known
Lesson 1: Shape Your Brand Identity
Lesson 2: Select Impactful Visibility Channels
You’ve detailed everything your students need to be able to do. But how will they actually ‘do’ them? And how will you assess whether they understood everything?
Your learning activities and assessments can take a variety of forms, however, these two are usually a wonderful place to start:
The rubber meets the road when your students implement what you’re teaching in specific action steps or ‘learning activities’ at the end of each lesson. That’s also when you would add other ways to determine if you’ve gotten your points and concepts across clearly.
For adults in particular, especially in business, it’s essential that they can apply what you’re teaching in the real world. You might be able to require a child to learn a topic in school just because you say so, but that doesn’t work with adults. They need to see results.
To see results and measure whether they’ve achieved their learning objective, you need to get creative about crafting engaging activities.
Start by looking at the learning objective. How can you measure it? For example, you could use:
And of course, anything that requires them to apply their new knowledge in the real world.
But don’t just throw in activities for the sake of it. Make sure each is aligned with a learning objective, so students have a good, motivating reason to complete it.
Example
For my business service providers, I might want to add short quizzes at the end of each lesson for them to self-assess their learning. But to ensure they achieve the objective, I need to have them apply their knowledge directly in their business. For example, for the lesson on ‘Select Impactful Visibility Channels’, the action steps are very straightforward, where I give them questions to help them select their channels in a worksheet and then have them pick their priority ones:
However you choose to assess the progress of your students, remember it’s not about making an A-grade as much as it is about challenging your students to put what they learned to practice.
Want 30% Off Your Next Online Course?
Never miss a deal, freebie, or business success tip when you sign up for my regular email updates.
You have your blueprint for your course done at this point, except for one last essential task: filling in the key points you need to cover in each lesson.
Since you already know what your students need to be able to do, your key points are what you need to talk about to help them get there.
I won’t go into a ton of detail for this section, since it will vary so much from topic to topic. But here are some important guidelines to follow when filling in your key points:
Example
Following along with that lesson on selecting visibility channels, here are the key points I need to cover to make sure students can select their visibility channels:
Key Points to Cover:
With all your groundwork done, the real fun begins—filling in this outline with the course content.
But hold up for a second. Before you cannonball into the deep end of the pool, let's not forget a crucial pit stop: the final review.
A comprehensive review isn’t a checkbox to tick; it's your safety net to ensure:
Here's what to keep an eye out for:
And here's a little secret: for that extra dash of pizzazz, mix and match content styles. Not only does it keep learners on their toes, but it also amps up how priceless your course feels.
Your course modules and lessons can (and should) take a variety of formats. No one format is better than the other, all that matters is how effective they are at teaching your students and solving their problems:
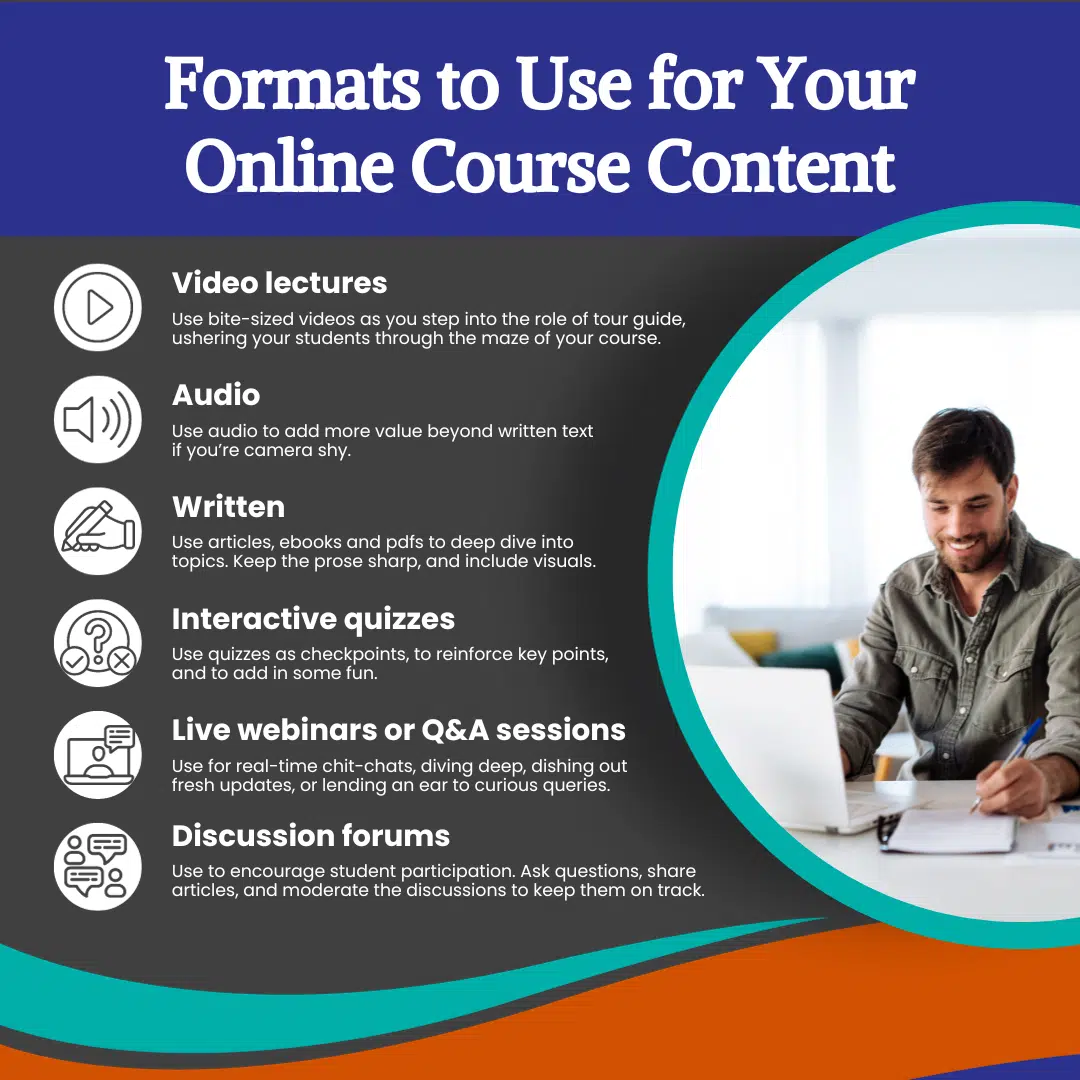
Remember: always keep your audience in mind. What resonates with them? What keeps them engaged? And remember, the most effective courses often combine several formats within a single module to cater to different learning styles. So, mix and match your tools wisely, and you'll build a course that's both engaging and effective.
Alright, roll up those sleeves! With your roadmap clear, dive into crafting that spellbinding content. Check out my guide to creating jaw-dropping online course videos (and no, you do not need a professional film studio) for some inspiration. Skip to the end for my best hack on speeding up the content creation process for your online course.
The magic number for your course's length isn't set in stone; it sways with the rhythm of your subject, audience, and objectives.
While lighter or introductory topics might be neatly wrapped up in a concise 1-3 hours spread across a few modules, more comprehensive subjects may warrant a more extended multi-week or even multi-month exploration. It's a balancing act where you're aiming for depth without sacrificing engagement. Pay close attention to the feedback from your students and you’ll end up with the right course length for your topic.
Remember, the longer and more involved your course is, the more it will cost. Check out my guide to the cost of creating a course for more info.
Because every course and audience is unique, there is no “one-size-fits-all” course outline that is the best for every subject.
Your best bet is to follow the guidelines in this article:
And remember to:
From there it is up to you!
Outlining a course on its own can be a daunting process, but that’s nothing compared to creating a course from scratch (and have I mentioned marketing and selling it?).
Fortunately, I have a “FastPass” for you: you can purchase a ready-to-sell, brandable course. These course kits (called PLR courses) are complete with modules, worksheets, slideshows, assessments, and more. And they are all available in my shop for you to purchase.
In less time than it took for you to read this post, you could have a course of your very own. All you need to do is add your logo and name. Then spend as much or as little time as you want adding your unique insights and examples.
Check out the categories of PLR products in my shop and take the next step toward growing your business today!
P.S. If you subscribe to my list via the button on that page (or below), you’ll get a 30% discount on your next purchase!
Unlock 30% Off Your Next Course!
Never miss a deal, freebie, or priceless business tip when you sign up for email updates
When you purchase a license to any of our ready-to-go course kits, you get the rights to edit it any way you want (or leave as-is) and add your own name and branding.
Then use your new course to:
Enjoy!

Tags