You have a pack of brandable, private label rights content and you're wondering how you can share the blog posts without getting lost in the search engines (ugh!) or how to make it fully your own. This post will show you how to customize your brandable, PLR blog posts and turn them into super-powered lead generating content.
Recommended Resources
Step 1 – Decide Where You Will Use Your Brandable, PLR Blog Posts
Choose the platform for your content, such as:
- Facebook: Posts / Livestreams / Stories
- Instagram: Reels / Video / Stories
- LinkedIn: Status Update / LI Pulse / Stories
- Your own website
- YouTube
- Podcast
As you can see, you can use your brandable blog posts in many different places.
[If you want to know more about how to repurpose blog posts AND run your own challenge on the topic, check out the 7-Day Content Repurposing Challenge HERE.)
Step 2 – Determine the Format for Your Brandable Blog Posts
Once you've decided where you will share your brandable content, the next step is to determine the format for it:
- Visual (blog post, infographic, other graphic)
- Audio
- Video (you on camera, a social video, slideshow)
A note on Visual Content…
Visual Content covers text and images. Any of the brandable blog posts that have steps in them can easily become an infographic using a tool like Canva or PowerPoint.
Text-based content can be added to a summarizer tool, like Resoomer or Text Compactor, and made into status updates or text for visuals. Remember, we have Canva Templates with Scrollstoppers (visual social media graphic templates) to help make this easier for you in our Beautiful Brandable Course Templates.
The best brandable content will speak to a specific audience, so choose visuals that your audience identifies with.
Step 3 – Change Your Headline
The brandable blog posts come with headlines already created for you. Your next step is to change those headlines to make them unique and relevant. You can change it to your usual headline writing style or try something new.
One Sneaky Trick That Gains More Conversions…
When you mention your audience in your headlines, two things happen. Your traffic goes down (all those random strangers who you're wrong for disappear), and those who are perfect for you feel you're speaking directly to them! This increases your conversions:
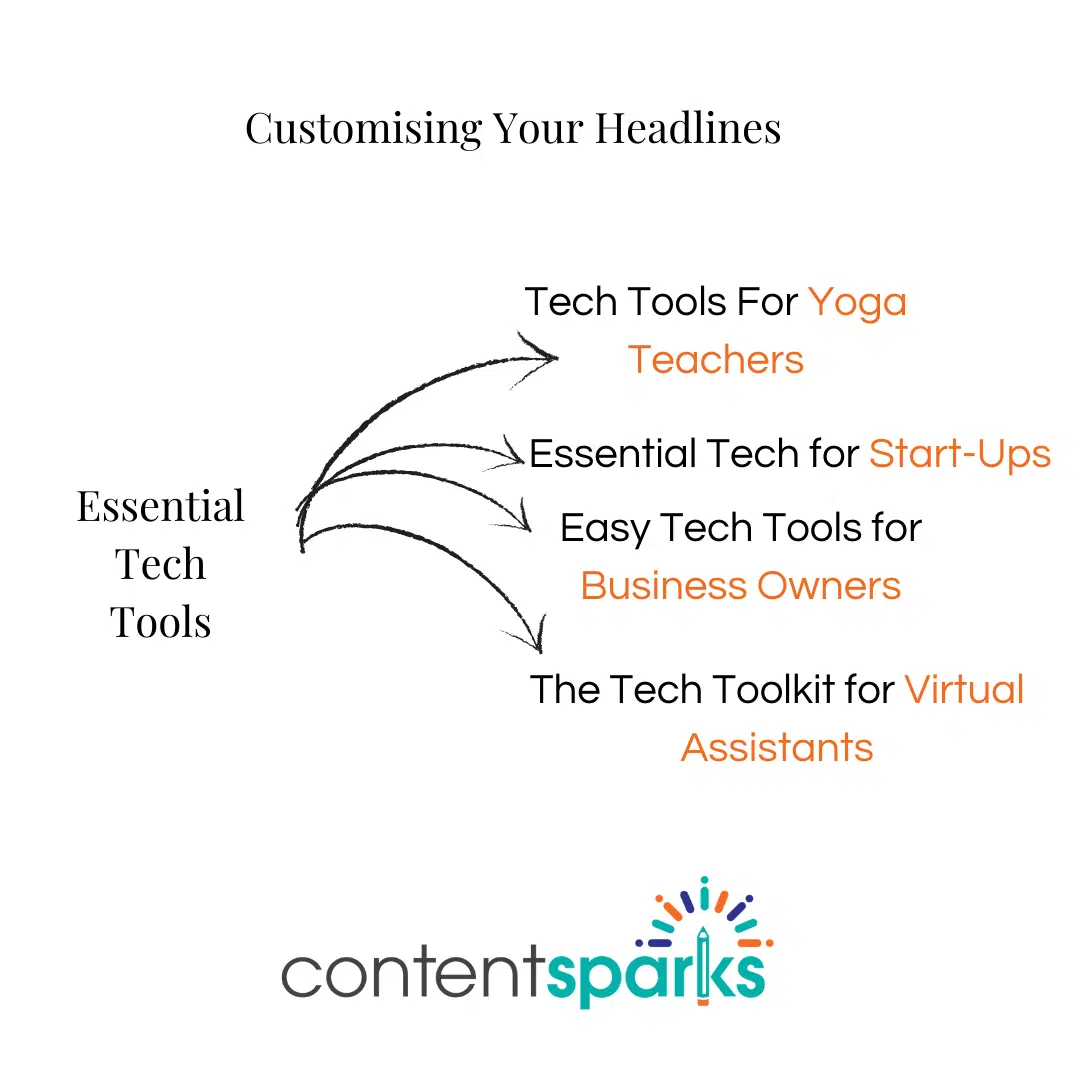
Remember: The right headline will ensure your video gets watched, your blog post gets clicked, and your social following grows with the right people.
FREE Checklist for Customizing Your PLR Blog Posts
Get the Checklist and 30% off your first order!
Step 4 – Add an Image Your Audience Will Identify With
This part can be tricky, so I'll share an example with you:
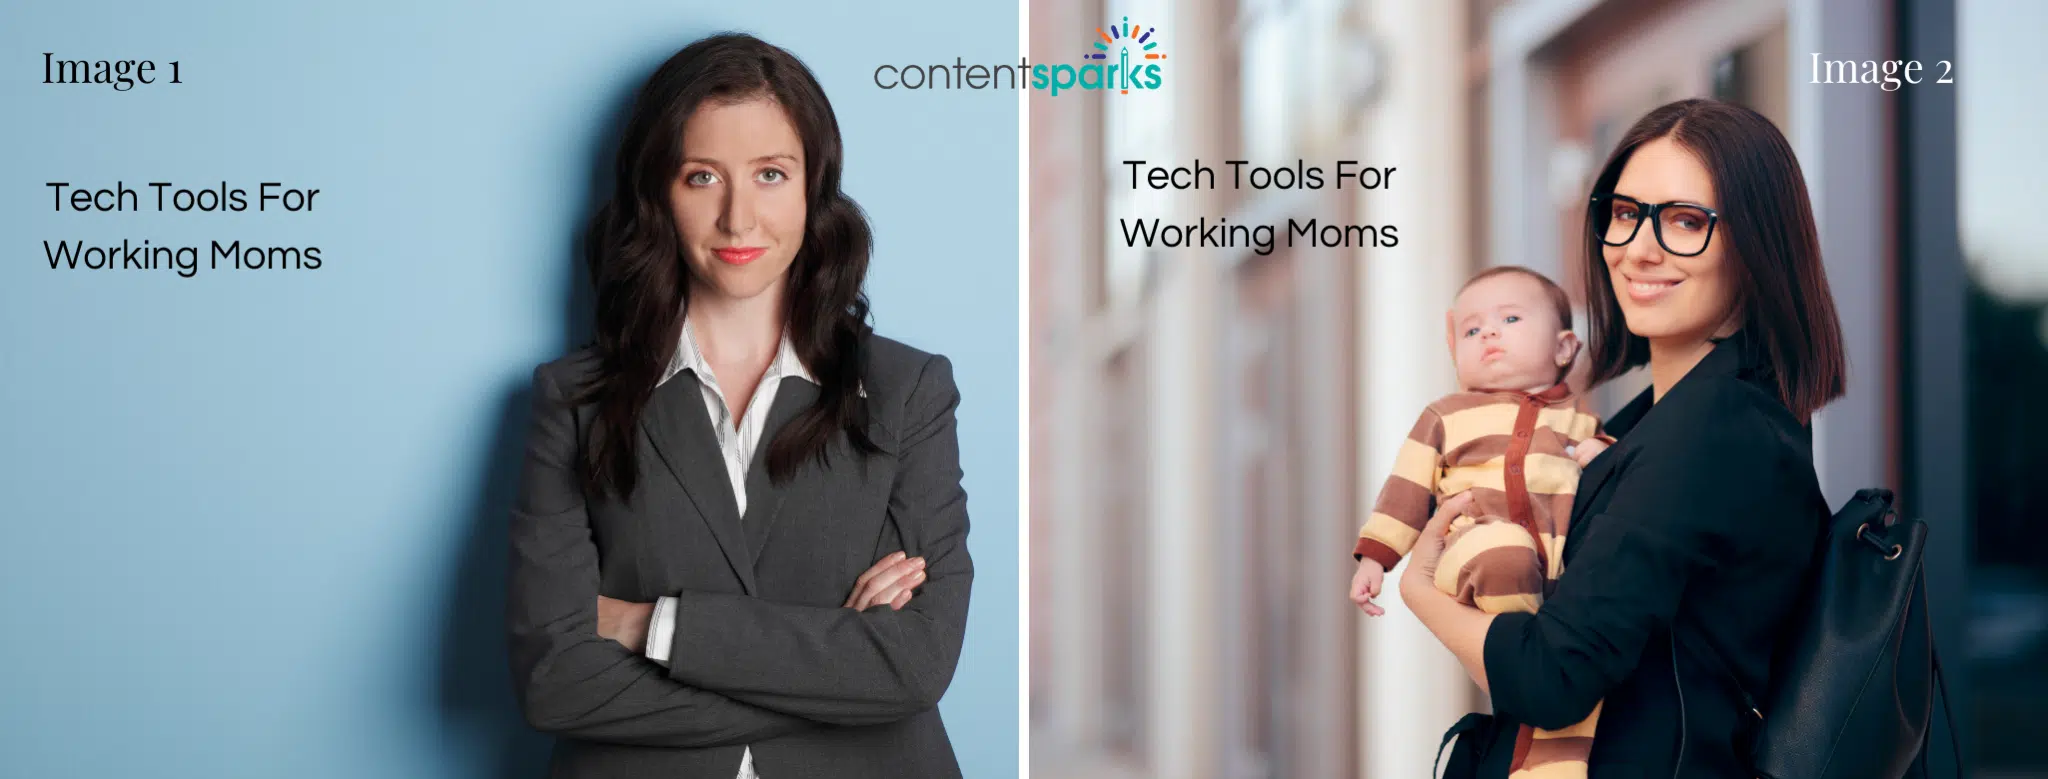
Imagine your courses help working moms. Which image will they identify the most with? Is it Image 1 or Image 2?
If you said both, you'd be right!
It all depends where your working mom is on her parenthood journey. Is she a new mom? Or are her children in school? Or, are her children leaving for college?
When you know this, you can customize your headlines and images even further – Tech Tools For New Working Moms, or Tech Tools for Moms Returning to Work.
When you customize your visual content you'll find your audience start to identify with you and your brand.
Remember, your visual content isn't just for your blog posts. It's also for your social media stories and video thumbnails.
Step 5 – Edit the Opening Paragraph for Your Audience
You'll notice that your brandable, PLR content is adaptable. This means you can easily adjust the opening paragraph to fit your audience.
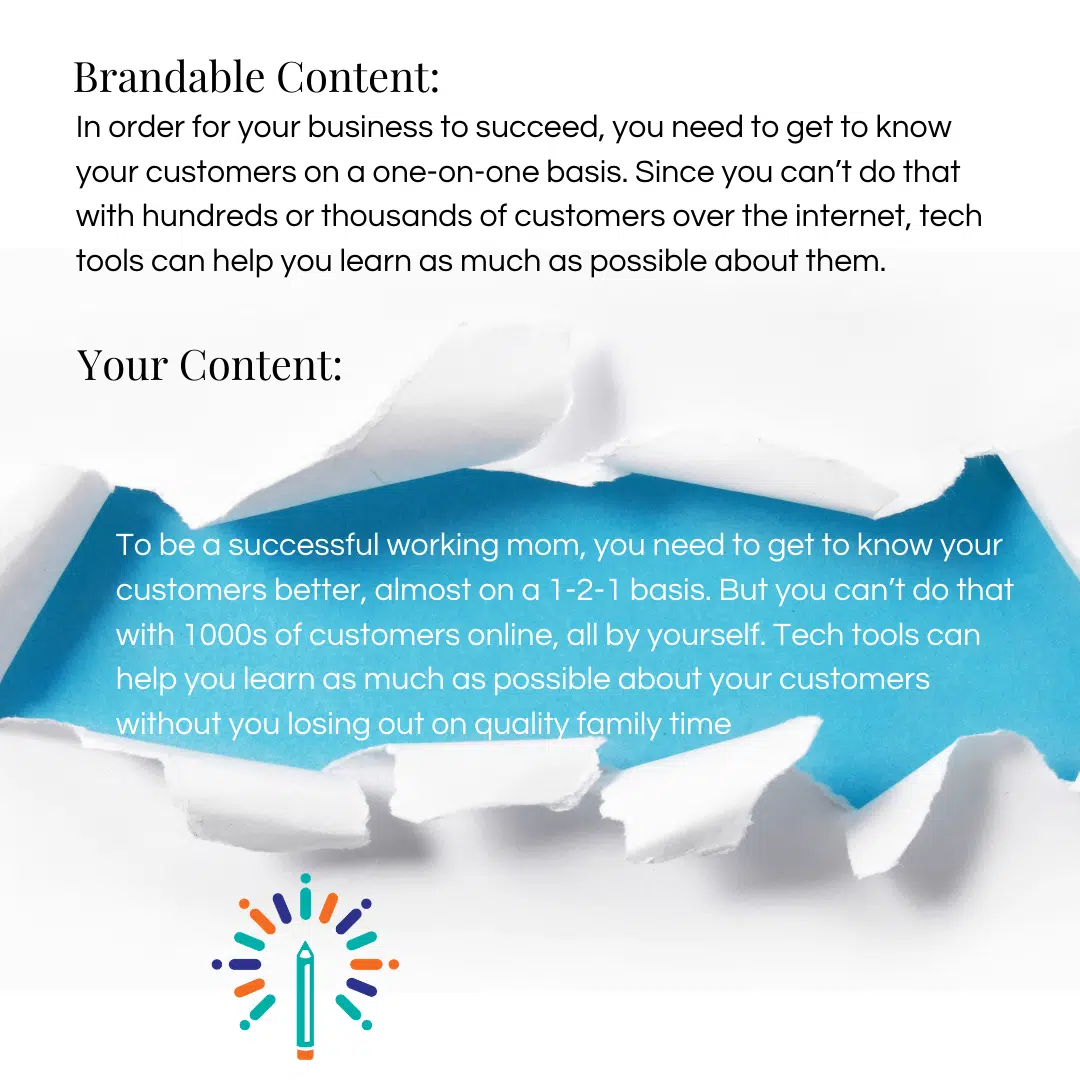
Just by customizing and adapting your headline and your opening paragraph to fit your audience you'll gain better traction with your brandable content.
Even if you're delivering your brandable blog post as a video, or a social video, customizing the headline and opening paragraph will give you an incredible connection with your audience. They'll feel the content is just for them. And it is.
Step 6 – Add Your Call to Action
You want your brandable content to do it's fair share of the work. This means adding in calls to action for someone to opt-in to your email list, or check out your online course.
We recommend getting them on your email list, and then using our brandable emails to nurture your leads.
Your calls to action are not just to be used at the end of the post. You can add them higher up in your content like I did when I shared the 7-Day Content Repurposing Challenge in this one. You can add them to the caption of your images. You can even add them as text to your videos.
Step 7 – Share Where Your Audience Is
For your brandable blog posts to create the biggest impact, you need to share where your audience will see them. It's no good sharing yoga teacher content on LinkedIn. Sure, there are yoga teachers there, but there are a LOT more on Pinterest.
Go to your audience and remember to share your content frequently – at least one piece of content per day (it can be something small).
Brandable blog posts are flexible, powerful addition to your online course business. When you blog, you bring people to you. And when you repurpose your brandable content, you'll never be short of content to share on social media.
Want a downloadable checklist to help you customize your done-for-you blog posts?
Click on the link below and add your contact info. We’ll send it right over.
Get started with some of our brandable blog posts and emails:
50 Done For You Blog Posts & Emails Bundle 1
That's 5 blog posts, and 5 emails on:
50 Done For You Blog Posts & Emails Bundle 2
That's 5 blog posts, and 5 emails on:
50 Done For You Blog Posts & Emails Bundle 3
That's 5 blog posts, and 5 emails on:
As you can see, when you know how to customize PLR blog content, you'll never run out of blog posts again! In fact, you'll love how easy blogging becomes for your business.
As you can see, when you know how to customize PLR blog content, you'll never run out of blog posts again! In fact, you'll love how easy blogging becomes for your business.

Tags
