How to Turn PLR Articles and Content into Videos
0 comments
0 comments
Using PLR content as a base and starting point is one of the fastest ways to scale your business and create any type of content.
A little while back, I created a couple of video tutorials to show you my tricks for how I quickly record videos with PowerPoint slides and audio. But that's only one of my methods. There are dozens of others.
In this article, I’ll show you how to use PLR content to create videos. Whether these are videos for an online course, videos for social media, or whatever type of content you choose!
With so many PLR topics and categories in my shop, the sky's the limit for the types of videos you can create.
Here are the most common videos I see people make with PLR:
Next, I’ll show you a step-by-step process to turn a PLR product into a video.

Want 30% Off Your Next Online Course?
Never miss a deal or tip when you sign up for my regular email updates.
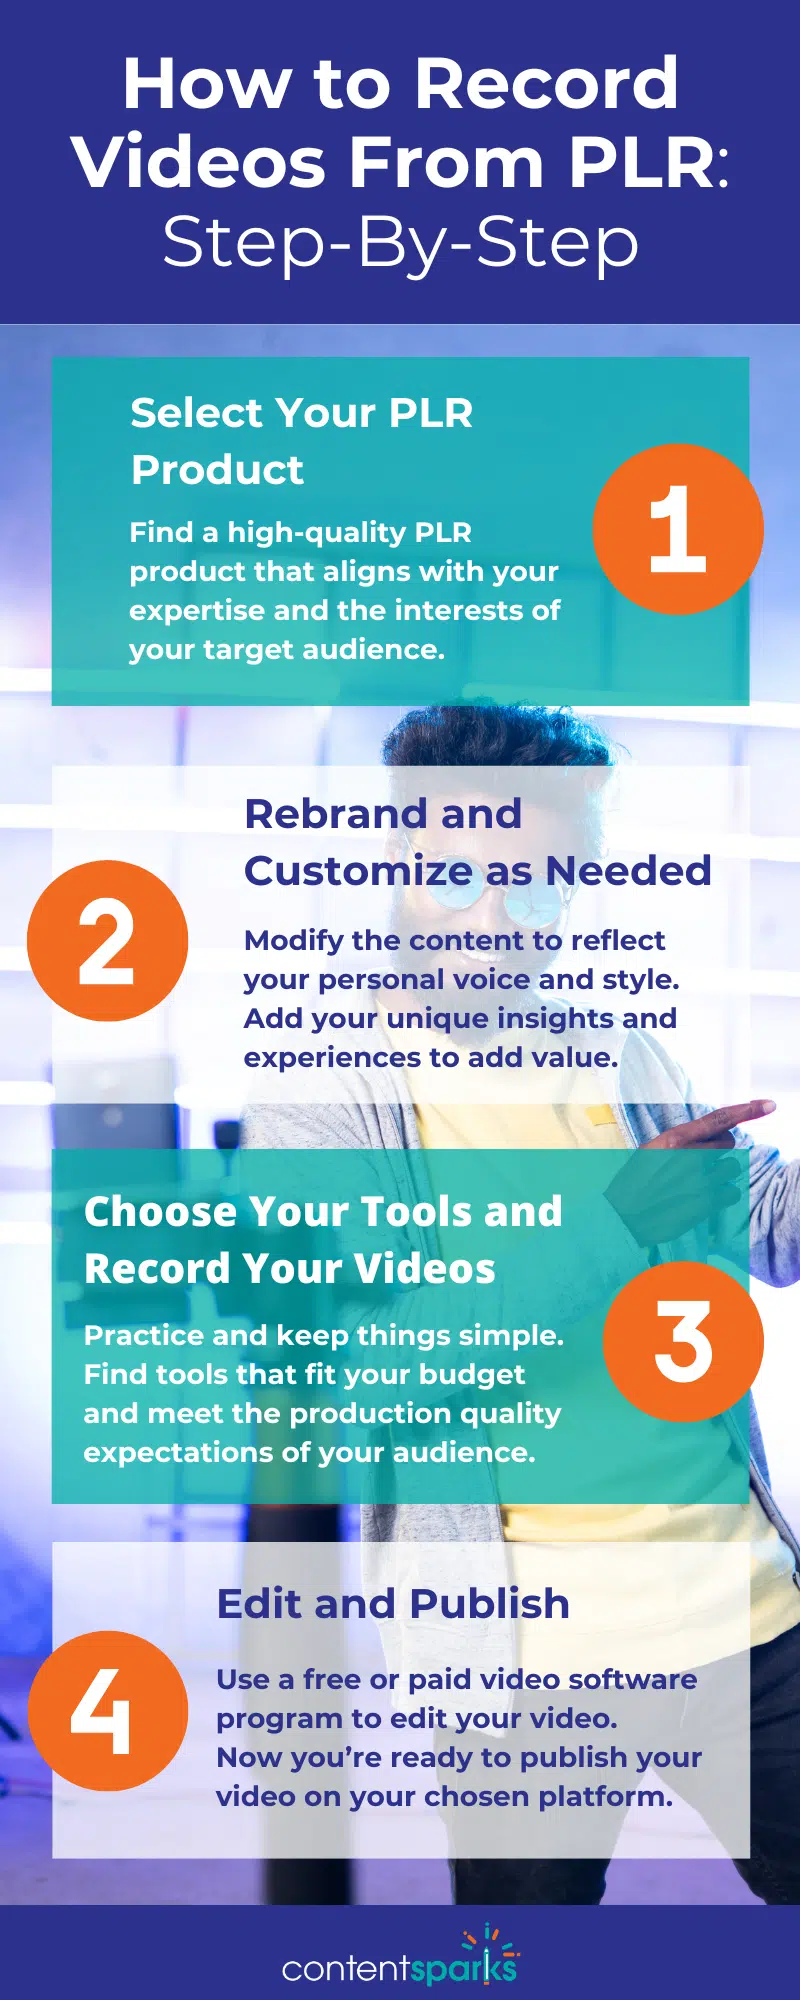
Most of my customers are busy enough, so I try to keep things simple. Follow these four steps to turn any PLR product of your choosing into a video:
First, you need a high-quality PLR product that aligns with your expertise and the interests of your target audience.
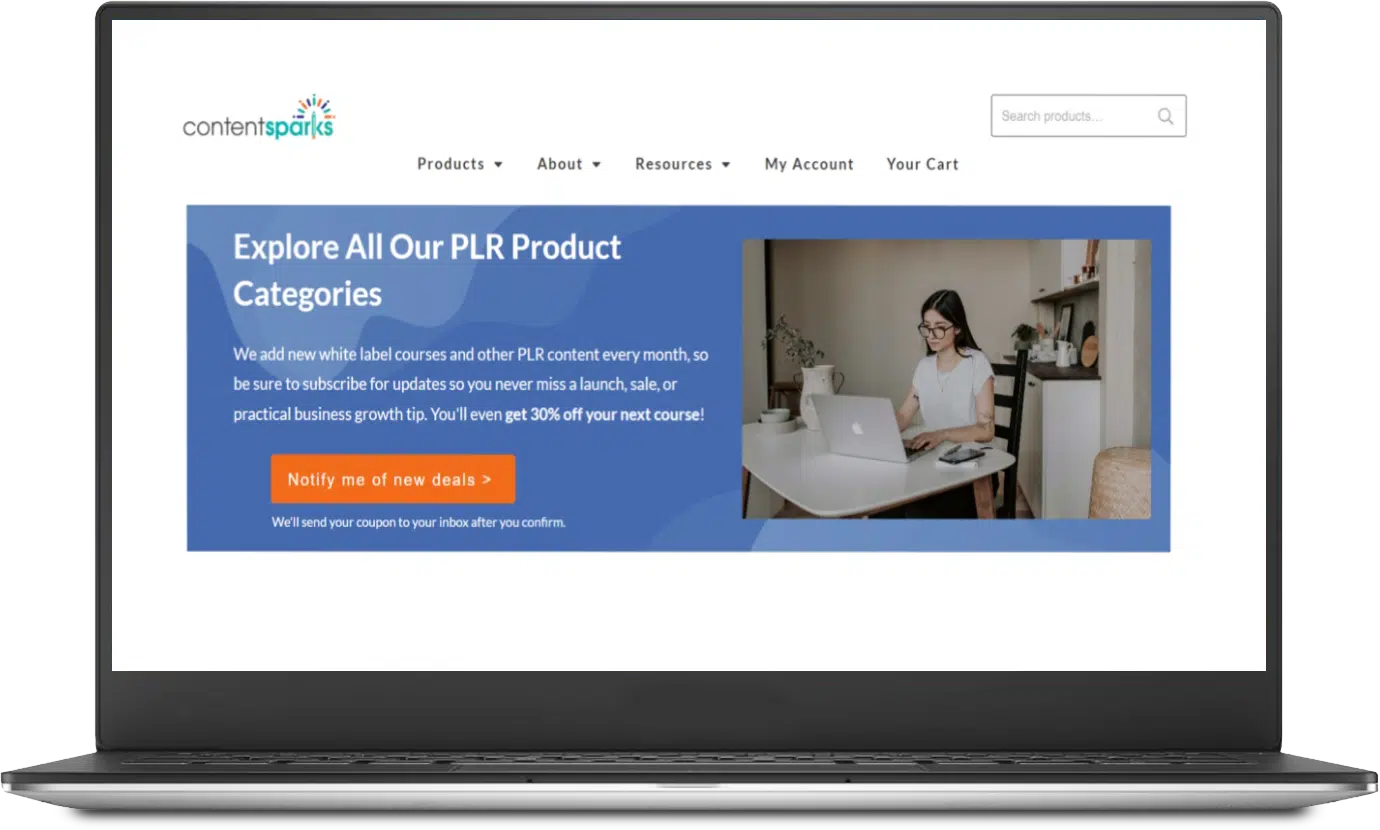
I have a ton of categories to browse in my shop and also have a free PLR product you can download to get started. Look for products that are relevant to your audience and goals for your video. Don’t forget to make sure that the PLR product comes with the appropriate rights to modify and distribute the content in video format.
Once you have selected your PLR product, the next step is to rebrand and customize the content to make it your own.
This involves modifying the content to reflect your personal voice and style, and also adding your unique insights and experiences to add value. Consider how you can differentiate your content from the original PLR material to make it more engaging and relevant to your audience.
Before recording your videos, you'll need the right tools for the job.
If you want to keep things simple, Zoom is fantastic for recording online course videos. For more advanced setups, check out my guide to recording course videos which includes a full list of tools and best practices.
If you are new to recording videos, I recommend practicing a few times before pressing “record.” I also recommend keeping things simple to start: an iPhone on a tripod can work wonders in production value for your audience. The key is to find tools that fit your budget and meet the production quality expectations of your audience.
If a mounting credit card bill full of camera equipment scares you off, a simple screen share works wonders. Here’s a tutorial I made to showcase how to record a video with Snagit (and add a bit of extra value to a PLR product):
If your videos are simple and short, they shouldn’t need much editing, but longer course videos may require a bit of trimming and stitching to get right.
If you find you need to edit or cut out parts of your videos, you will need to use another tool. There are many free video software programs such as VSDC, HitFilm Express, VideoPad or iMovie that will get the job done. Some of my favorite paid options include Camtasia and Screenflow which offer all-in-one video recording and editing packages.
My number one favorite video editing tool at the moment is Descript. You can use it to record videos, but its biggest superpower is in editing. It’s as simple as working with a Word document. And the noise reduction works brilliantly. There are various AI features too.
Once editing is complete, it's time to publish your video on your chosen platform, whether that's YouTube, social media, or your online course platform.
And that’s it! So go ahead and purchase a PLR product and create your next video (check at the end of this post for a special offer on your first purchase).

One of my readers specifically asked me how I got the video to match my website's colors.
When using PLR content, it’s important to brand it to match your business’s style and tone. To help with that I use the preset themes in PowerPoint. I pick a theme I like and then I add my logo and edit the theme colors to match my logo as closely as possible.
All of this is done in the Slide Master view. I can then save that theme for use with future videos so that I can create them more quickly and easily.
Here's a quick tutorial I put together to show you how I was able to put together a set theme for the PLR article I repurposed in my previous post.
If you want to scale up your coaching or services business quickly, there is no better way to do it than by purchasing and selling PLR courses and products.
PLR offers an incredible opportunity to make money for your business, and when matched with the power of AI, it’ll look like you wrote the course yourself. Here’s a way to speed things up even more though:
Subscribe and save 30% on your first order from my shop.
From PLR courses with sales funnels to PLR webinars and PLR quizzes, I have tons of categories for you to browse and select a product that can make a major impact on your audience and on your business.
So don’t delay, fill out the form and save 30% on your first order!
Unlock 30% Off Your Next Course!
Never miss a deal or priceless business tip when you sign up for regular email updates
Enjoy!

Tags